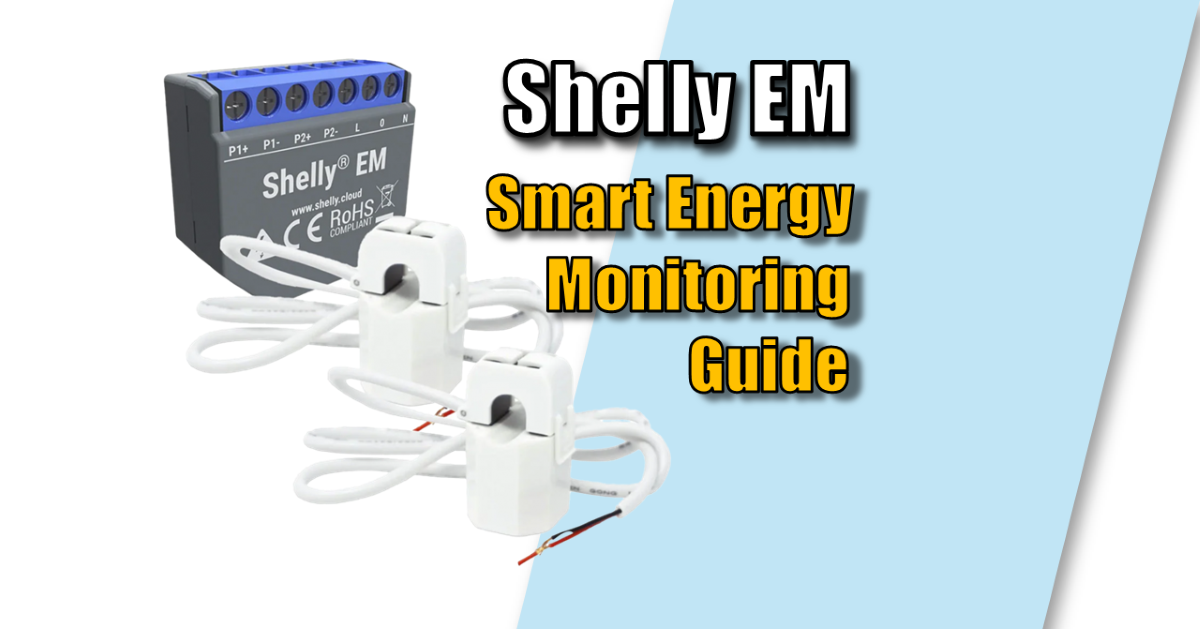
Shelly EM: Smart Energy Monitoring Guide
The Shelly EM (Gen1) is a compact, Wi-Fi-enabled power metering device designed to provide real-time monitoring of electricity consumption or solar energy production. It is a popular choice for both smart home enthusiasts and those looking to optimise energy efficiency without requiring a centralised hub. I have been using my Shelly EM for a few years and it has never missed a beat.
In this guide I’ll take you through the Shelly smart energy monitor series and tell you why I think the Shelly EM Gen 1 is still a smart choice. I have also made a few videos for you to see how to connect the Shelly to your home network, wire it up, connect it to your consumer unit, walk you through the web interface as well as use the Shelly EM APIs.
Introduction: The Shelly EM Legacy
In the fast-evolving world of smart home automation, few devices have achieved the “cult classic” status of the original Shelly EM (Gen 1). Manufactured by Shelly IoT (a brand under the Allterco Robotics ecosystem), the Shelly EM emerged as a game-changer for homeowners and professional installers alike. Since its introduction, it has served as a cornerstone of the Shelly product line-up, bridging the gap between basic smart switches and industrial-grade energy management.
The success of the Shelly EM is not an accident; it is the result of a philosophy that prioritises openness, accessibility, and local control. Unlike many competitors that force users into proprietary ecosystems or require expensive, dedicated hubs, the Shelly EM was designed to be platform-agnostic. It connects directly to your existing home Wi-Fi, functioning flawlessly either as a standalone device or as a key component in complex automation setups like Home Assistant .
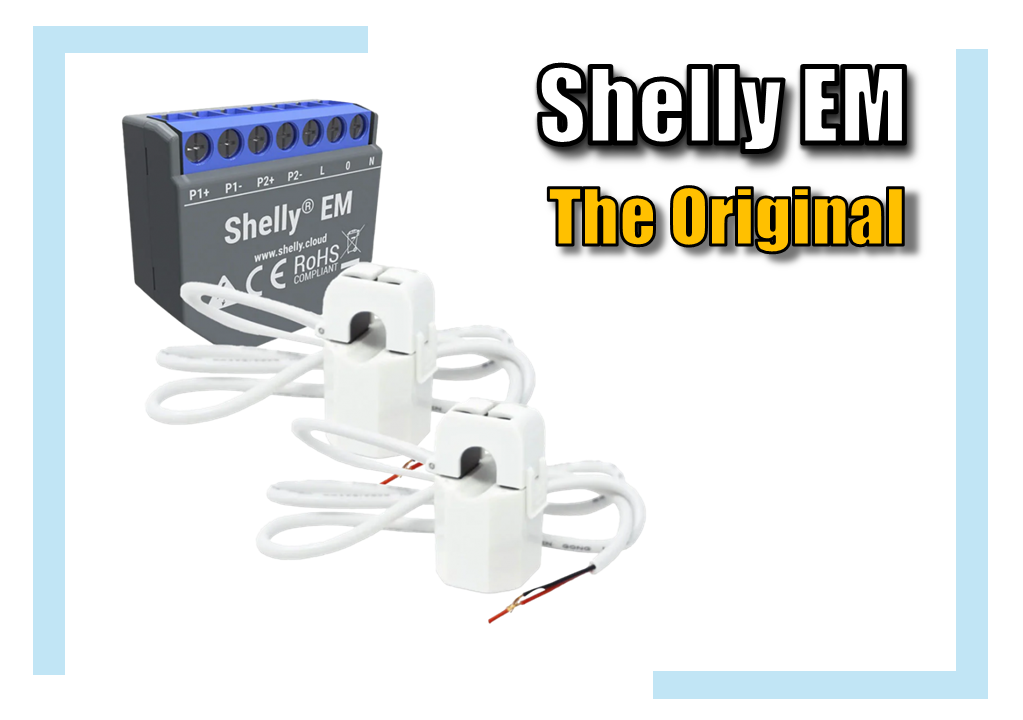
For years, it has remained a top choice for a simple yet powerful reason: it solves real problems without the “walled garden” approach. By offering reliable, two-channel energy monitoring combined with a built-in dry contact relay for load control, it gave users the ability to not only measure their consumption but actively manage their appliances—all in a compact, affordable, and incredibly reliable package. Whether for tracking a refrigerator’s power draw or automating a water heater via a contactor, the Shelly ²EM remains a testament to the idea that smart technology should be powerful enough for the pro, but simple enough for everyone.
What is the Shelly EM?
The Shelly EM is a dual-channel energy meter that measures current using non-invasive Current Transformer (CT) clamps. Unlike smart plugs that plug into a wall, the Shelly EM is typically installed inside an electrical distribution board (consumer unit) or near the circuit it is monitoring.
While it is primarily a monitoring device, it includes a dry contact relay. This does not mean it can switch high-power appliances directly; rather, it is designed to control a “contactor” (a heavy-duty relay), allowing the Shelly EM to act as a smart switch for large loads like water heaters, EV chargers, or HVAC systems.
How It Works & The Tech Inside
The device operates by connecting to your local 2.4 GHz Wi-Fi network.
- Metering: It utilizes the ADE7953 integrated circuit, a specialized chip designed for high-accuracy energy measurement. It measures voltage and uses two CT clamps to monitor the current flow on two separate circuits.
- Data Handling: The device features an internal real-time clock and storage, allowing it to log data for up to 365 days, even if your Wi-Fi connection drops.
- Control: The relay output is rated for up to 2A, which serves as a signal to trigger external contactors. This allows you to create automations—for example, shutting off a heater if total household consumption exceeds a certain threshold.
- Ecosystem: It is “hub-free,” meaning it connects directly to the Shelly Cloud app, but it also supports local-only operation via REST API and MQTT, making it highly compatible with home automation systems like Home Assistant.
Installation Overview
Installing the Shelly EM involves working with mains electricity and should be performed by a qualified electrician or someone with appropriate electrical expertise.
- Safety First: The power to the distribution board must be turned off before starting.
- Mounting: The compact unit (roughly 39mm x 36mm x 17mm) is designed to fit inside standard electrical boxes or near your circuit breakers.
- Wiring:
- Power: The device requires a Live (L) and Neutral (N) connection to power its own circuitry.
- Metering: The CT clamps are snapped around the “Live” wire of the circuits you wish to monitor. The device then calculates power usage based on the current detected by the clamps and the reference voltage.
- Contactor (Optional): If you are using the relay for control, you wire the contactor’s control coil to the Shelly EM’s output terminal.
- Configuration: Once powered, you connect to the Shelly’s temporary access point via your phone to configure Wi-Fi settings and calibrate the measurement if necessary.
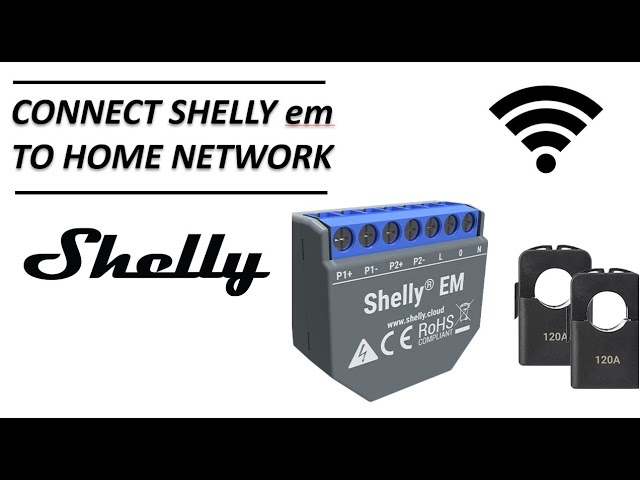
See How to Install the Shelly EM
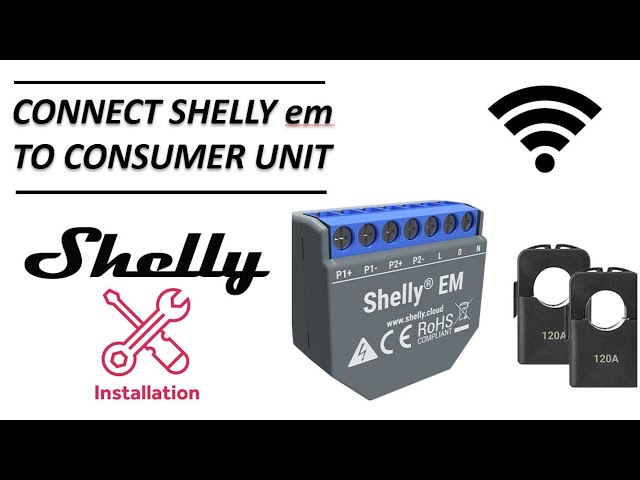
The Shelly EM connects to your home WiFi via the 2.5Ghz channel. Take at look at this video to see how to connect it to your WiFi and then browse to its Web interface.
Pros and Cons
| Pros | Cons |
|---|---|
| No Hub Required: Operates independently via Wi-Fi. | Installation Complexity: Requires working inside high-voltage electrical panels. |
| Dual Metering: Tracks two circuits simultaneously. | Not a Load Switch: Cannot directly switch high-power devices without an additional contactor. |
| Local Control: Robust support for MQTT/REST APIs for offline use. | Wiring Constraints: Needs access to a Neutral wire, which may be absent in some older switch boxes. |
| Data History: Stores up to 365 days of data locally. | Requires CT Clamps: Bulkier to install than devices that wire directly in-line. |
Disclaimer: Electrical installations carry risks of fire and electric shock. Always follow local safety regulations and consider professional installation if you are not experienced with high-voltage wiring.
The evolution of Shelly’s energy monitoring lineup reflects a shift from simple, Wi-Fi-only solutions toward more robust, professional-grade infrastructure. Understanding the differences between these generations is key to choosing the right device for your specific needs.
The Evolution of Generations
Shelly devices have evolved through four distinct hardware generations, each bringing significant improvements in processing power, reliability, and functionality.
- Gen 1 (The Original): Includes the classic Shelly EM. These devices rely on the ESP8266 chip and basic memory. While effective for simple tasks, they lack the advanced scripting and Bluetooth onboarding capabilities of newer models.
- Gen 2 (Plus/Pro Series): Introduced the ESP32 chip, offering vastly more memory and a faster processor. This generation added Bluetooth for easier setup, scripting capabilities for complex local automations, and support for secure protocols like MQTTS/HTTPS.
- Gen 3 (Evolution): Focuses on “Shelly-proprietary” chipsets for optimal efficiency. Gen 3 devices offer even more RAM and Flash memory, providing a future-proof foundation for advanced automation, improved safety features, and expanded support for protocols like Matter.
- Gen 4 (Modern Connectivity): The latest tier, which introduces Wi-Fi 6, Zigbee compatibility, and further improvements to processing speed.
Comparing Energy Monitors
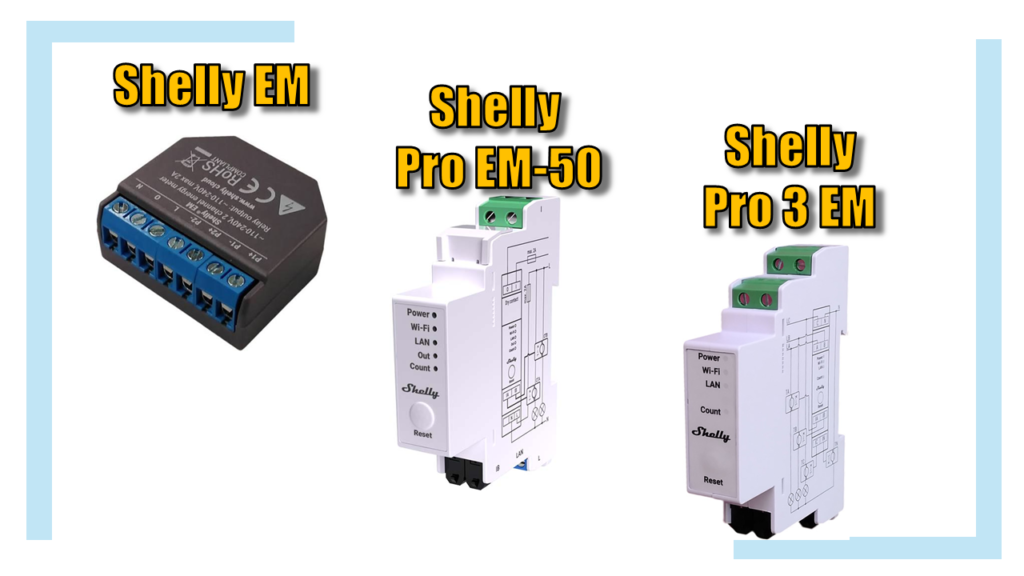
While the Gen 1 Shelly EM remains a popular, cost-effective choice for basic monitoring, modern alternatives like the Pro series are built for DIN-rail mounting and industrial-grade reliability.
| Feature | Shelly EM (Gen 1) | Shelly Pro EM-50 | Shelly Pro 3EM |
|---|---|---|---|
| Mounting | Wall/Box (Compact) | DIN Rail | DIN Rail |
| Connectivity | Wi-Fi | Wi-Fi, LAN, Bluetooth | Wi-Fi, LAN, Bluetooth |
| Channels | 2 | 2 | 3 |
| Max Current | 120A | 50A | 120A or 400A |
| Advanced Features | Basic API/MQTT | Scripting, Modbus, KVS | Scripting, Modbus, KVS |
| Best For | Retrofits in tight spaces | DIN rail installations | 3-Phase power monitoring |
Key Differences to Consider
- Form Factor: The original Shelly EM is designed for flexibility; its small size allows it to be tucked into junction boxes or near appliances. The “Pro” line is designed specifically for electrical distribution boards (DIN-rail mounting), which is the standard for professional electrical work.
- Connectivity (LAN vs. Wi-Fi): While Gen 1 relies entirely on Wi-Fi, newer Pro models include Ethernet (LAN) ports. For critical energy monitoring, a hardwired LAN connection is significantly more stable than Wi-Fi, ensuring data is never lost during network congestion.
- Intelligence: If you need complex local logic—such as “if solar production > X and house load < Y, then turn on the water heater”—the Pro series’ support for MJS Scripting allows the device to execute this logic locally on the chip, without needing an external hub or cloud connection.
Why the Gen 1 Shelly EM Remains a Favourite
Despite the release of newer “Pro” and DIN-rail-focused models, the original Shelly EM (Gen 1) remains a staple for many smart home enthusiasts. Its enduring popularity is largely due to a specific set of features that are harder to find in the newer, more industrial-focused lineup.
- Integrated Contactor Control: This is the most frequently cited reason for sticking with the original model. The Shelly EM has a built-in 2A dry contact relay, which allows you to directly trigger a contactor to switch heavy loads (like water heaters or EV chargers) on and off. In contrast, many of the newer “Pro” energy monitors are strictly for monitoring only; to achieve the same control, you would need to purchase an additional external switch add-on, increasing both your cost and the physical space required in your electrical panel.
- Compact “Non-DIN” Form Factor: The Gen 1 Shelly EM is small and versatile, designed to fit into tight spaces, junction boxes, or behind outlets where a large, rail-mounted DIN device simply wouldn’t fit. For users retrofitting older homes or working with limited space, this small footprint is often more practical than the standardized, wider “Pro” series.
- Proven Reliability: With years of real-world use, the original Shelly EM has developed a reputation as a “set-and-forget” device. For users who have already integrated it into their home automation systems (like Home Assistant) using its simple, stable API, there is often little incentive to “upgrade” to a newer device if the current one is functioning perfectly.
- Cost-Effectiveness: Because it is an older model, the Shelly EM is often competitively priced. For someone who strictly needs to monitor two circuits and occasionally toggle a high-load device, buying the original EM is often cheaper than buying a “Pro” device plus the necessary relay accessories.
- Simple “Hub-Free” Operation: Like the newer models, it connects directly to Wi-Fi without needing a gateway or hub. Users who value a decentralized, simple, and direct-to-cloud (or local) setup find the original EM meets all their requirements without the complexity of newer features like Bluetooth commissioning or LAN support, which they may not require for their specific use case.
Many users assume that “newer” equals “more powerful,” but when it comes to raw current monitoring range, the Gen 1 Shelly EM is on par with the professional-grade Shelly Pro 3EM (also 120A), and actually exceeds the Shelly Pro EM-50, which—as the name suggests—is limited to 50A per channel.
Here is how the current-measuring capabilities compare across these popular models:
Current Measurement Capacity Comparison
| Device | Max Current per Channel |
| Shelly EM (Gen 1) | 120A |
| Shelly Pro EM-50 | 50A |
| Shelly Pro 3EM | 120A |
Why this is a key differentiator:
- Retrofit Power: For many residential setups, 50A (the limit of the Pro EM-50) is plenty for individual circuits. However, if you are looking to monitor a main feed or a high-draw sub-panel where loads might exceed 50A, the original Shelly EM remains a superior choice over the Pro EM-50.
- The “Pro” Trade-off: The reason Shelly introduced the Pro EM-50 with a lower 50A limit wasn’t to “downgrade” the technology, but to focus on DIN-rail installation, LAN connectivity, and professional-grade safety features for standard home circuits.
- Capacity vs. Professional Features: While the Gen 1 Shelly EM offers higher capacity than the Pro EM-50, it lacks the industrial-grade features found in the Pro line, such as:
- Ethernet (LAN) support for rock-solid, non-Wi-Fi connectivity.
- DIN-rail mounting for clean, organized distribution board installations.
- Advanced Scripting (mJS) for complex, on-device automation logic.
If your primary requirement is monitoring a circuit that draws between 50A and 120A, the “old” Gen 1 Shelly EM is still technically more capable than the newer Pro EM-50. It remains a powerful tool that hasn’t been fully replaced in terms of sheer measurement range in the non-3-phase lineup.
In short, the Shelly EM Gen 1 remains relevant because it occupies a unique “sweet spot”: it provides both accurate energy monitoring and built-in load control in a single, compact, and affordable package that remains perfectly suited for many residential applications.
Shelly Generations Comparison
The following table compares the different generations of Shelly devices. While these generations apply to Shelly’s broader product range (relays, sensors, etc.), the core improvements—such as processing power, connectivity options, and automation capabilities—are reflected across their energy monitoring lineup.
| Feature | Gen 1 | Gen 2 (Plus/Pro) | Gen 3 | Gen 4 |
|---|---|---|---|---|
| Connectivity | 2.4 GHz Wi-Fi | Wi-Fi + Bluetooth | Wi-Fi + Bluetooth | Wi-Fi 6 + Bluetooth + Zigbee |
| Processor | Entry-level | High-performance | Optimized Shelly Chip | Top-tier performance |
| Memory | Basic | Enhanced (Up to 8MB) | Largest Capacity (8MB) | Highest (512 KB RAM) |
| Automation | Basic Webhooks | Scripting Capabilities | Advanced Scripting | Advanced Scripting |
| Protocols | MQTT, CoAP, HTTP | MQTTS, HTTP/HTTPS | Matter, KNXnet/IP | Matter, Zigbee, Modbus |
| Ethernet | No | Yes (Pro models only) | Yes (Pro models only) | Yes (Pro models only) |
| Security | Standard | Enhanced (TLS) | Enhanced | Enhanced |
Pros and Cons by Generation
| Generation | Pros | Cons |
|---|---|---|
| Gen 1 | Extremely affordable; proven “set-and-forget” reliability; compact size perfect for retrofits. | Limited processing power; no Bluetooth for easy setup; lacks modern security and advanced scripting. |
| Gen 2 | Added Bluetooth for easy onboarding; supports complex local scripting; introduces Ethernet for Pro models. | Slightly bulkier than Gen 1 mini devices; requires more configuration for advanced features. |
| Gen 3 | Optimized proprietary hardware for stability; expanded memory for complex logic; improved safety/monitoring features. | Newer ecosystem might require firmware updates; slightly higher cost than legacy Gen 1. |
| Gen 4 | Future-proofed with Wi-Fi 6 and Zigbee; highest processing speeds; best for advanced, multiprotocol smart homes. | May be “over-engineered” for users only needing simple energy monitoring; higher price point. |
Summary for Energy Monitoring
- Gen 1 is still widely used for simple, single-phase circuit monitoring where the device’s built-in relay (dry contact) is needed to trigger external contactors. Shelly SA
- Gen 2 & 3 (Pro Series) are the standard for professional, DIN-rail-mounted setups. They offer Ethernet connectivity, which is highly recommended for critical energy data logging to ensure stability. Reddit
- Gen 4 represents the current “state of the art,” providing the most flexibility for complex automations that need to bridge different protocols (like Zigbee or Matter) alongside high-precision energy tracking. NetXL
Local Control: Taking Full Command
One of the defining features that cemented the Shelly EM Gen 1’s reputation is its ability to operate entirely offline. While it works seamlessly with the Shelly Cloud app for remote access, users who prioritise privacy and network independence can disable cloud connectivity entirely and run the device strictly within their local area network (LAN).
The Advantages of Local-Only Operation
By choosing to keep your Shelly EM off the cloud, you gain several significant advantages:
- Privacy & Security: Your energy consumption data never leaves your home. Since no data is transmitted to external servers, you eliminate the risk of your personal usage habits being stored or analyzed by third parties.
- Reliability & Uptime: Your automations will continue to function even if your internet goes down or the manufacturer’s cloud servers experience an outage. Your home stays “smart” regardless of external connectivity.
- Speed: Because commands are processed directly on your local network rather than traveling to a cloud server and back, response times are near-instant. SmartConfort
- Independence: You are not subject to “cloud lock-in”. You maintain full control over the device’s functionality, ensuring that your system remains viable even if the company’s service policies change or if support for older devices is eventually deprecated.
Web Interface: Your Control Center
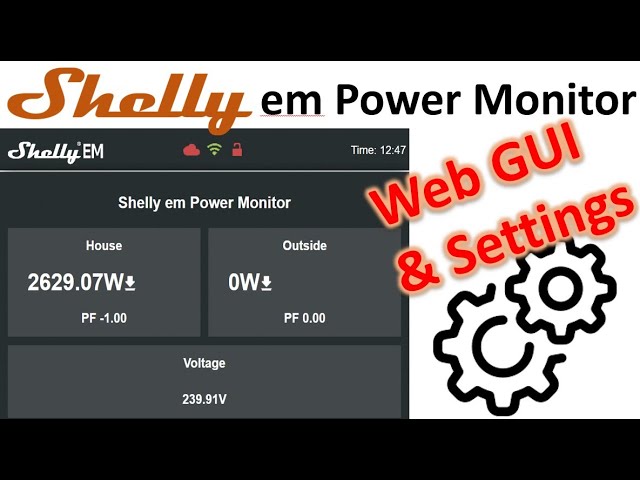
The Shelly EM features an intuitive, built-in web server that allows you to manage the device directly through any web browser on your local network. Because this interface is hosted on the device itself, you do not need an external app, cloud account, or internet connection to perform setup or diagnostics.
- Real-Time Monitoring: The primary dashboard provides an immediate overview of your electrical circuits, displaying active power (W), voltage (V), and total energy consumption (Wh) for both metering channels.
- Device Configuration: Through the settings menu, you can configure critical parameters such as Wi-Fi credentials, static IP addresses, and relay behavior. It is also where you define advanced settings like MQTT connectivity, firmware updates, and local schedules (including sunrise/sunset triggers).
- Manual Control: You can toggle the device’s relay—used for contactor control—directly from the web UI, making it an excellent tool for testing your automation or force-switching a load without needing to open a smartphone app.
- Accessibility: By default, the device acts as a Wi-Fi Access Point (AP) during the first 15 minutes after power-on, allowing you to connect your phone or computer directly to it (at
192.168.33.1) to configure its network settings. Once connected to your home Wi-Fi, you can simply access it via its assigned local IP address.
Watch the Web GUI in Action
Control via Local API
For users who want to integrate the Shelly EM into a broader smart home ecosystem (such as Home Assistant, OpenHAB, or custom scripts), the device provides two powerful local communication methods that operate entirely without the cloud.
1. REST API (HTTP)
The Shelly EM exposes a simple HTTP-based API, making it easy to pull data or send commands using standard web requests.
- Data Retrieval: By polling endpoints like
/emeter/0/and/emeter/1/, you can retrieve precise energy metrics for each channel. - Switch Control: You can control the relay by sending commands to the
/relay/0endpoint (e.g.,/relay/0?turn=onor/relay/0?turn=off). This is ideal for lightweight scripts or custom dashboard integrations where you want near-instant response times.
2. MQTT
For more complex or robust environments, MQTT is the preferred choice. Once you enable MQTT in the device’s “Internet & Security” settings, the Shelly EM will communicate with your local MQTT broker.
- How it Works: The device publishes real-time power, energy, and relay status to specific topics (e.g.,
shellies/shellyem-{id}/relay/0/power). - Commanding: To control the relay via MQTT, you publish an
onoroffpayload to the device’s corresponding command topic (shellies/shellyem-{id}/relay/0/command). - Advantage: MQTT is highly efficient, provides state updates automatically, and is supported by almost all major home automation platforms.
Note: On Gen 1 devices, enabling MQTT generally disables the Shelly Cloud connection, as the device is designed to prioritize one communication path.
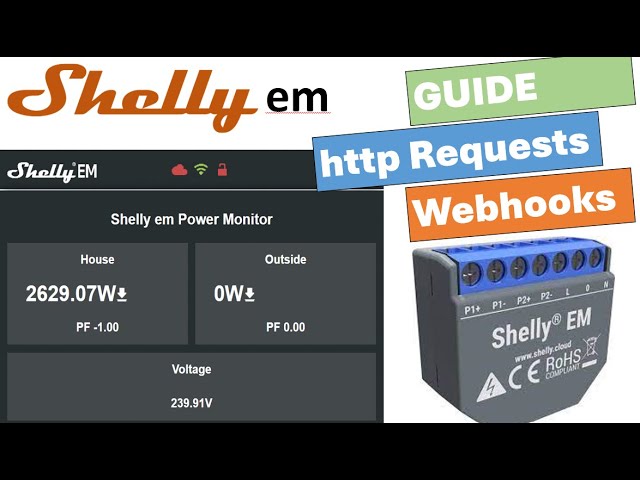
See the API Commands in Action
Summary and Conclusion
The original Shelly EM (Gen 1) has earned its reputation as a foundational device in the smart home ecosystem by successfully balancing simplicity, performance, and openness. Designed as a dual-channel energy monitor, it offers homeowners and professionals a reliable, hub-free way to track electricity consumption or solar production with high accuracy, thanks to its specialized ADE7953 metering chip.
Why The Original Shelly EM Remains Relevant
Even as newer generations (Gen 2, Gen 3, and Gen 4) have introduced advanced features like Bluetooth commissioning, DIN-rail mounting, and scripting, the Gen 1 Shelly EM remains highly sought after for several key reasons:
- Integrated Control: Unlike many modern “monitoring-only” devices, the Gen 1 includes a built-in 2A dry contact relay, allowing it to directly trigger contactors for high-load appliances like water heaters or EV chargers without additional hardware.
- High Capacity: Its ability to monitor up to 120A per channel keeps it competitive even against newer 50A-rated professional models, making it a powerful choice for sub-panels and heavy-duty circuit monitoring.
- Form Factor: Its compact, non-DIN design allows for flexible installation in tight spaces where larger rail-mounted devices simply will not fit.
- Openness: Its robust support for local protocols like MQTT and REST API ensures it remains a favourite for privacy-conscious users who prefer local-only control over cloud-based ecosystems.
Final Thoughts
The Shelly EM Gen 1 is a testament to the power of well-executed, versatile design. While the newer “Pro” and “Plus” series represent the future of professional, DIN-rail-based electrical infrastructure, the original Shelly EM fills a specific and vital niche. It is the ideal tool for the DIY enthusiast or the smart home integrator who needs a cost-effective, reliable, and “hub-less” solution that combines precise monitoring with active load control.
By choosing the Gen 1, you aren’t just buying an older device; you are choosing a proven, flexible, and powerful component that has stood the test of time and remains a cornerstone of efficient smart home energy management.
Where to Get a Shelly For Yourself
I picked mine up on Amazon. There are quite often sales promotions, so keep your eyes open for those.
- Get the Shelly em on Amazon
- Check out the Shelly Store
Further Reading
- How to Check RAM on Windows (2 Easy Ways)
- Simple DIY Network Monitor Using a Windows Batch Script V2 (Beginner Friendly)
- How to Stream Radio on VLC: Use This Hidden Feature to Access 1,000s of Stations for Free
- How to Convert MOV to MP4 (Fast, Free & Secure)
- Why the Neon Mains Voltage Tester Screwdriver is the Most Dangerous Tool in Your Box (And What to Use Instead)
- How to Use the Kewtech KEWCHECK103: The DIY Guide to Testing Your Sockets
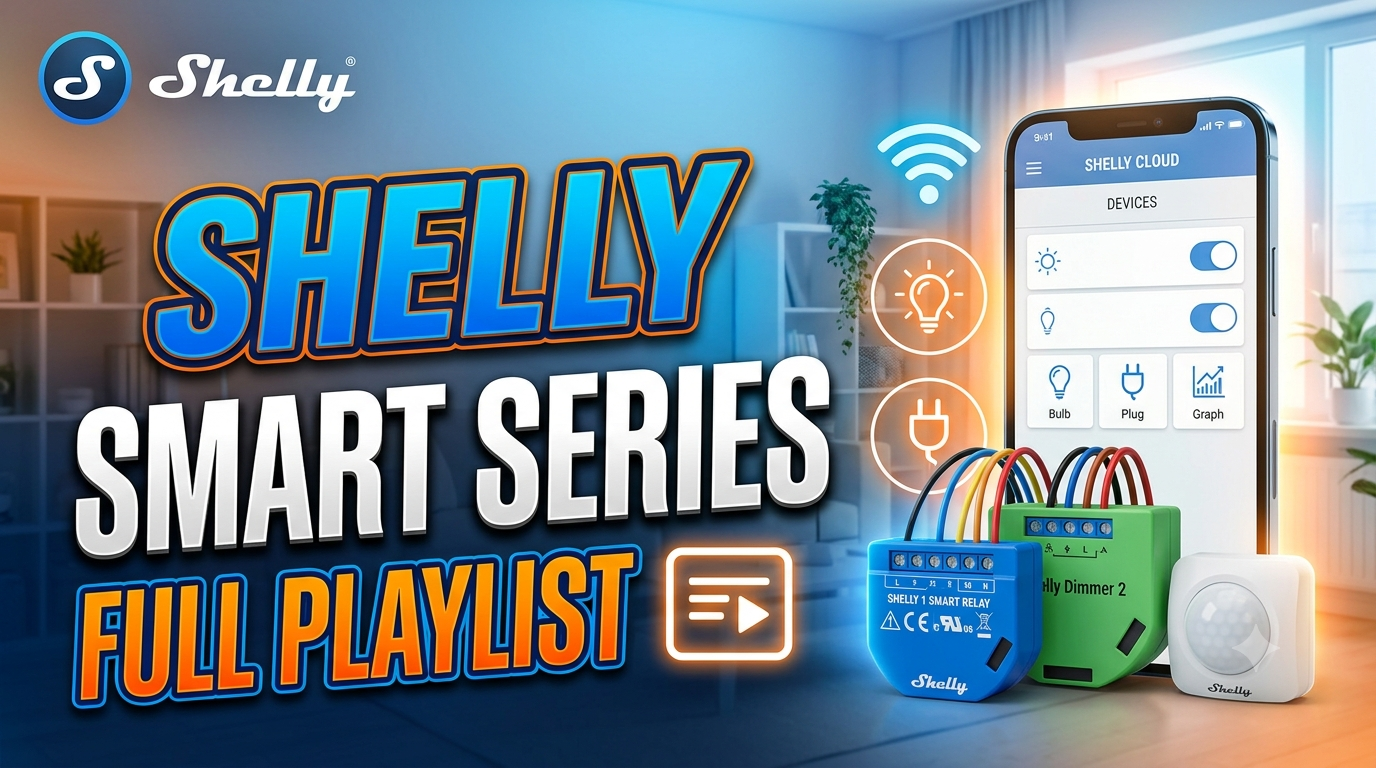
Shelly Smart Device Series
For more videos on the Shelly EM and other Shelly devices and projects, visit my YouTube Shelly Playlist.
▶ Watch The Shelly Video SeriesShelly EM Frequently Asked Questions (FAQ)
Does the Shelly EM require a hub?
No. The Shelly EM operates independently by connecting directly to your 2.4 GHz Wi-Fi network. You can manage it through the Shelly Cloud app or integrate it directly into local systems like Home Assistant.
Can the Shelly EM monitor 3-phase power?
The standard Shelly EM (Gen 1) is designed for single-phase monitoring (two channels). For 3-phase systems, you should look at the Shelly Pro 3EM, which is purpose-built for that application.
What is the maximum current the Shelly EM can measure?
Each channel on the Gen 1 Shelly EM supports measurement up to 120A, provided the appropriate Current Transformer (CT) clamp is used.
Can I install the Shelly EM myself?
Installing the Shelly EM requires working inside an electrical distribution board with live mains voltage. If you are not qualified or comfortable working with high-voltage electricity, please hire a licensed electrician to ensure safety and compliance with local building codes.
Do I need a Neutral wire for this device?
Yes. The Shelly EM requires a connection to both the Live (L) and Neutral (N) lines to power its internal circuitry and metering sensors.
What is the purpose of the relay output?
The relay output is a “dry contact” (rated for 2A) that does not power appliances directly. Instead, it is designed to switch an external contactor, allowing you to turn high-power devices (like water heaters or EV chargers) on or off via automation.
Can I use the Shelly EM without the cloud?
Absolutely. The Shelly EM supports local-only operation. You can access its web interface directly via its IP address or use protocols like MQTT and REST API to integrate it into your local home automation server without ever connecting to the internet.
Does enabling MQTT disable the Shelly Cloud?
Yes, on the Gen 1 device, enabling MQTT will typically disable the connection to the Shelly Cloud, as the device is designed to prioritize one communication path at a time.
Why is my energy reading inaccurate?
Ensure the CT clamp is fully snapped shut around the “Live” wire and that it is oriented correctly (the arrow on the clamp should point toward the load). You can also perform a calibration in the device settings if you have a known reference load.
The device is showing as “offline.” What should I do?
Check your Wi-Fi signal strength at the installation site. If the signal is weak, you may need a Wi-Fi range extender or, if using a Pro model, consider switching to a hardwired Ethernet connection. For the Gen 1, ensure your router has not blocked the device’s MAC address or assigned a conflicting IP.
Subscribe Now!
I hope you found this Shelly EM smart energy monitor guide helpful. If you’re ready to stop guessing and start troubleshooting your own home tech and smart DIY projects safely, head over to the Built By Pete YouTube channel! We’ve got hundreds of step-by-step tutorials to simplify your tech life. Click here to subscribe and hit the notification bell so you never miss a guide!