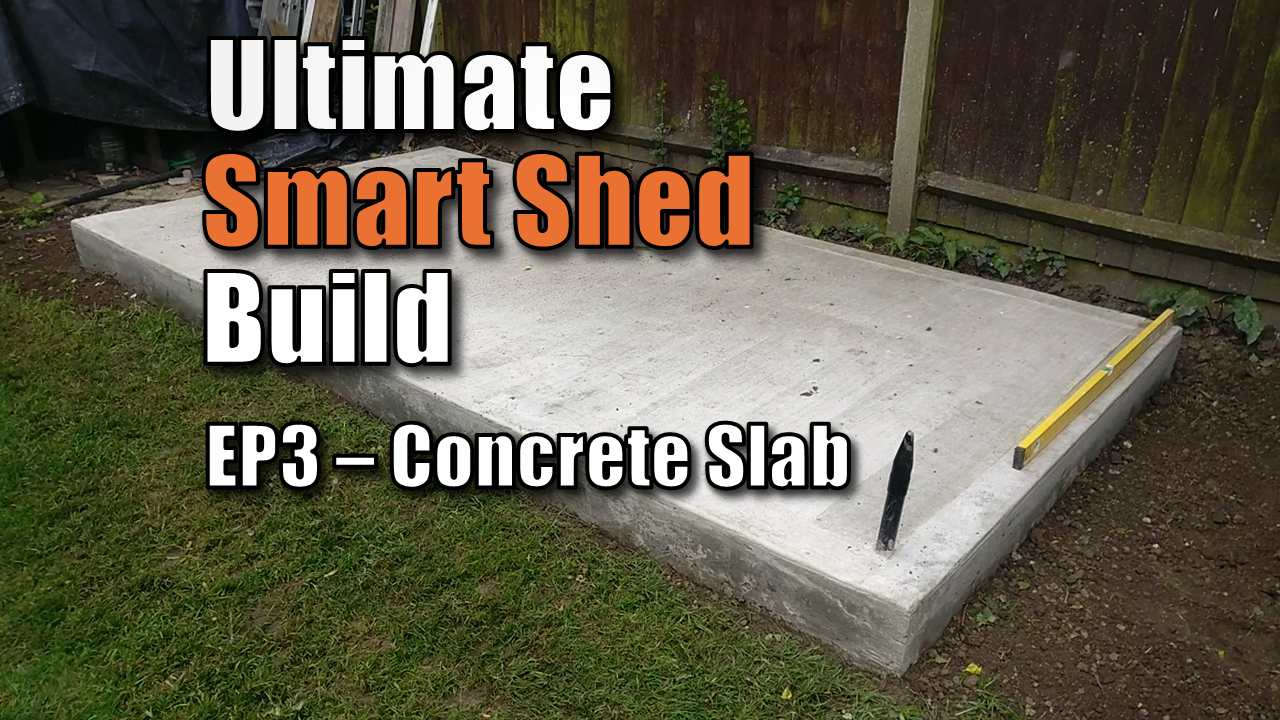
How to Build a Concrete Shed Foundation. Ultimate Smart Shed (Part 3):
How to Build a Concrete Shed Foundation. Welcome back to Part 3 of the Ultimate Smart Shed build! If you missed the previous steps, check out Part 1: Plans & Site Prep. Today, we are moving from the planning phase to the most important structural milestone: How to build a concrete shed foundation.
If you know How to Build a Concrete Shed Foundation then you’ll be able to create a proper concrete slab, that is tough, durable, long-lasting and secure workspace. It prevents damp, ensures your structure stays square. Read on to the end of the article for a concrete volume calculator to help you work out how much concrete you need.
Watch the Full Build: How to Pour a Flawless Slab

Phase 1: The “Smart” Infrastructure (Power & Data)
Before any concrete hits the ground, you need to think about connectivity. Because this is the Ultimate Smart Shed, I didn’t want messy cables running over the grass later.
- The Trench: I dug a 600mm deep trench from the garden border to the inside corner of the slab.
- The Conduit: I laid 40mm conduit to carry my PoE Networking and power cables.
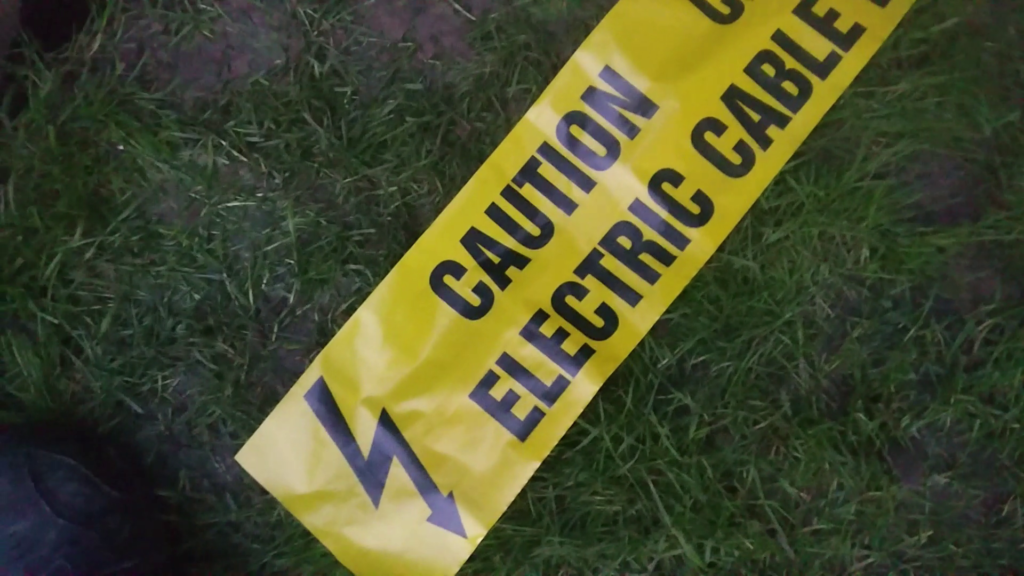
- Safety First: I buried electrical warning tape about 150mm above the conduit. This ensures that anyone digging in the future gets a warning before hitting the power lines.
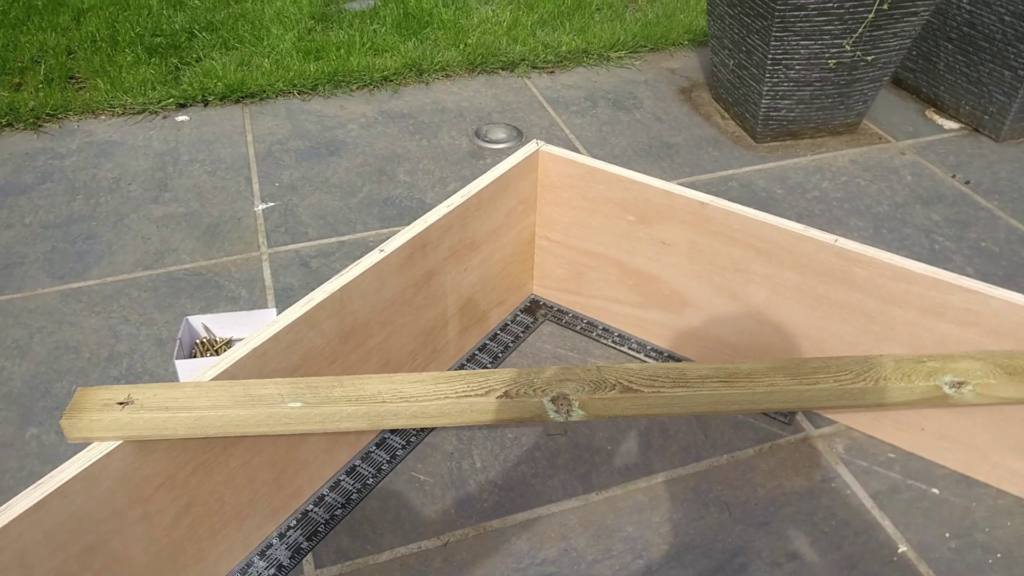
Phase 2: Building the Form (The 3-4-5 Rule)
I used 18mm shuttering ply to create a 12ft x 6ft form. To ensure the corners were perfectly 90 degrees, I used the 3-4-5 Rule (Pythagoras’ Theorem).
How to Square Your Foundation:
- Measure 60cm along one side of the form.
- Measure 80cm along the adjacent side.
- Measure the diagonal between the two marks. If it is exactly 100cm, your corner is perfectly square.
Once square, I screwed on timber cross-braces to lock the angle in place while I staked the forms into the ground.
Phase 3: Sub-base & Reinforcement
A slab is only as strong as what is underneath it. I used a multi-layer approach for maximum stability:
- Geotextile Membrane: To stop the subbase from migrating into the soil.
- Hardcore : us of old bricks and slabs broken up with a sledge hammer and laid evenly ontop of the Geotextile membrane
- Blinding : spreading sharp sand over the hardcore to fill the gaps and increase stability.
- Type 1 MOT: 900kg of road stone, compacted with a mechanical wacker plate to a depth of roughly 75mm.
- Steel Mesh: 5mm reinforcing mesh (A142), raised on concrete blocks so it sits in the middle of the pour.

| Material | Quantity / Ratio | Why? |
| Concrete Mix | 5:1 (Ballast to Cement) | The standard for high-strength DIY slabs. |
| Type 1 MOT | 900kg | Provides a solid, non-shifting base. |
| Steel Mesh | 5mm Reinforcing | Prevents the slab from cracking over time. |
| Release Agent | Vegetable Oil | Stops the concrete from sticking to the wood forms. |
Phase 4: Mixing and Pouring the Concrete
I mixed the concrete using a 5:1 ratio (5 parts 20mm ballast to 1 part cement).
Pro-tip : Before pouring make sure the sub base has been compressed by tampering with a mechanical tampering machine or manually with a whacker plate.
The Professional Finish:
- Tamping: I used a straight 4×2 timber beam to “tamp” the concrete, removing air bubbles and bringing the water to the surface.
- Edging: I used a half-inch radius bullnose trowel around the perimeter. This creates a smooth, curved edge that looks professional and prevents the concrete from chipping.
- Non-Slip Texture: Once the concrete started to “turn” (stiffen), I pulled a stiff broom across the surface to create a light non-slip texture.
Concrete Volume Calculator
I have put together a quick calculator to help you work out how much concrete you will need for your concrete shed base. You can use imperial or metric measurements. Simply enter your dimensions and select feet or inches and the calculator will do the rest. You can also decide if you want to add a 10% safety buffer in the calculation.
DIY Concrete Slab Volume Calculator
Type your slab dimensions below to find the exact concrete volume required in all standard units.
Common Pitfalls to Avoid
- Too Much Water: A runny mix is easy to pour but results in weaker concrete. Aim for a “peanut butter” consistency.
- Forgetting the Release Agent: Always rub your forms with oil (even cheap cooking oil!). If you don’t, the concrete will bond to the wood and break your edges when you remove the shuttering.
- Poor Compaction: If you don’t compact your Type 1 subbase properly, the slab will eventually sink or crack. Rent a wacker plate—it’s worth the money.
FAQ: How to Build a Concrete Shed Foundation
What is the best concrete mix for a shed base?
For most garden sheds, a 5:1 (Ballast to Cement) or 4:1 (if you want it extra strong) is ideal.
How long does it take for the concrete to cure?
You can walk on it after 48 hours, but wait at least 7 days before starting heavy timber framing. It takes 28 days to reach full design strength.
Do I need to use reinforcement (rebar/mesh)?
Reinforcement, such as steel mesh or fibre, is highly recommended for larger bases, heavier loads, or poor ground conditions to prevent cracking, although it may be optional for small sheds on stable ground.
Why do I need a foundation for my shed?
A proper foundation keeps the shed level, protects it from ground moisture and pests, and provides essential stability, which extends the lifespan of the structure and prevents issues like uneven settling or door operation problems.
How Much Concrete do I Need for My Foundation
Its just a matter of multiplying the width by the length by the depth. I have put together a concrete volume calculator above. Simply enter your shed base dimensions and the calculator will do the rest.
How to Build a Concrete Slab Foundation: Do’s and Don’ts Checklist
| Feature | DO | DON’T |
| Site Prep | DO dig deep enough to remove all organic matter (grass/roots) and use a mechanical plate compactor for the sub-base. | DON’T pour concrete over soft soil or loose dirt; the slab will eventually crack or sink. |
| Formwork | DO use the “3-4-5 rule” (Pythagorean theorem) to ensure your wooden forms are perfectly square. | DON’T trust your eyesight for level; use a long spirit level or a laser level across the entire span. |
| Moisture | DO lay a heavy-duty Damp Proof Membrane (DPM) to stop ground moisture from rising through the slab. | DON’T skip the DPM, especially if you plan to store electronics, tools, or smart home gear inside. |
| Smart Tech | DO install PVC conduits for power and internet before pouring the concrete. | DON’T forget to tape off the ends of your conduits so concrete doesn’t fall inside and block them. |
| Reinforcement | DO use steel mesh (raised on “chairs”) to give the concrete tensile strength. | DON’T let the mesh sit on the ground; it must be suspended in the middle of the concrete to work. |
| The Pour | DO have at least one helper. Concrete sets fast, and trying to level a large slab alone is risky. | DON’T add too much water to the mix to make it “easier” to spread; this significantly weakens the final cure. |
| Finishing | DO use a “screed” board in a sawing motion to get a flat surface, then an edger for rounded corners. | DON’T walk on the slab or remove the wooden forms too early (wait at least 24–48 hours). |
| Curing | DO keep the slab slightly damp or covered with plastic for several days to prevent it from drying too fast. | DON’T build the heavy shed walls the very next day; give the concrete time to gain structural strength. |
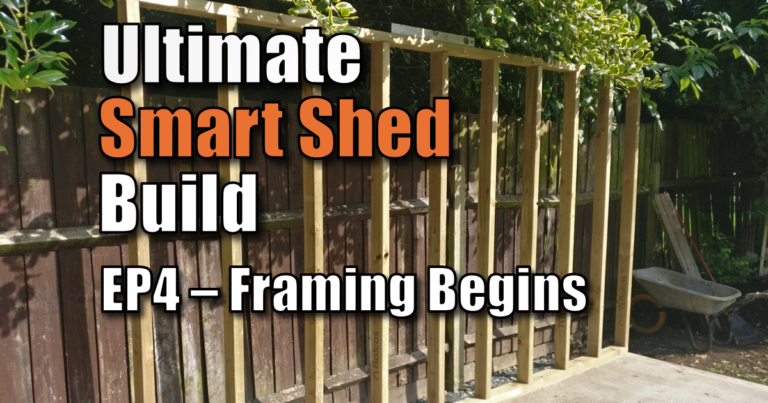
What’s Next?
Now that the foundation is cured and our “smart” conduit is in place, we are ready for the fun part: The Framing. In Part 4, we’ll be using 4×2 pressure-treated timber to build the skeleton of the Ultimate Smart Shed.
Level Up Your Build:
- Why Your Shed Needs Wired Ethernet (and not just Wi-Fi)
- Essential Tools: Why You Need an Ethernet Cable Tester
- The Ultimate Shed Build Series Introduction
Subscribe Now!
If you found this How to Build a Concrete Shed Foundation episode of the Ultimate Shard Build interesting and are ready to stop guessing and start troubleshooting your own tech plus smart DIY, head over to the Built By Pete YouTube channel! We’ve got hundreds of other DIY projects and smart home tutorials. Click here to subscribe to the BuiltByPete youtube channel and hit the notification bell so you never miss out on the tips, tricks, and step-by-step guides that will simplify your tech life.