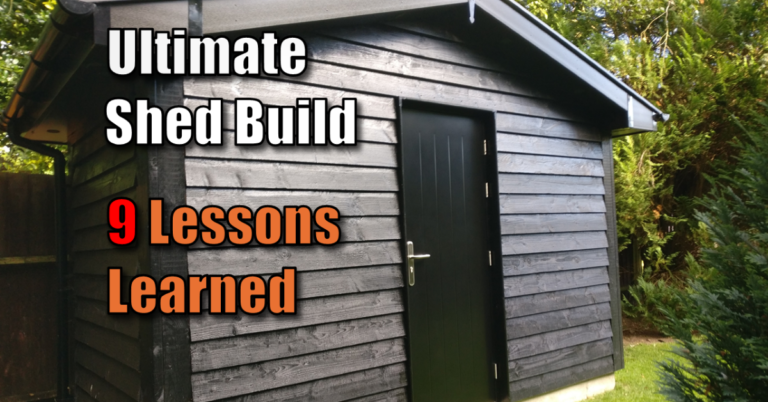
Framing a Shed Roof, Making Birdsmouth Cuts & OSB Decking | ULTIMATE Smart Shed (Part 9)
Welcome back to the Ultimate Smart Shed build series! If you’ve been following along, you’ve seen us move from a raw concrete slab to fully cladded structural walls. Now, it’s time to put a lid on it.
Framing a shed roof is one of the most rewarding parts of any build, but it’s also where many DIYers get stuck. In this guide, I’m breaking down the technical process of installing a ridge beam, cutting perfect birdsmouth joints without fancy tools, and sealing the structure with structural OSB and breathable membrane.
Watch the Build: Framing a Shed Roof
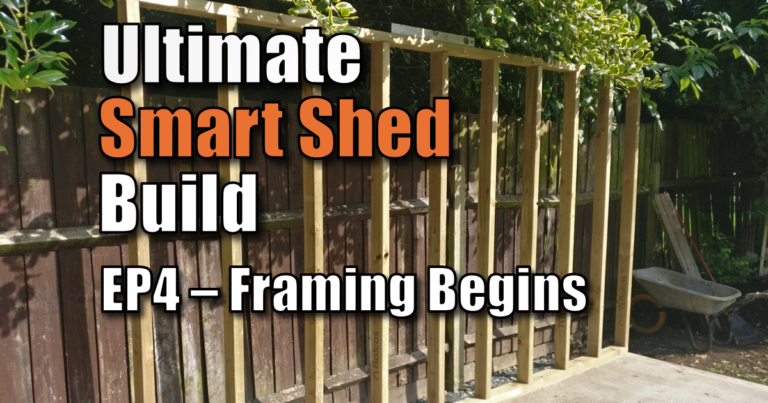
Step 1: The Double Top Plate (Wall Plates)
Before the rafters can go up for framing a shed roof, the walls need to be locked together. I started by adding a double top plate (or wall plate) on top of the existing frame.
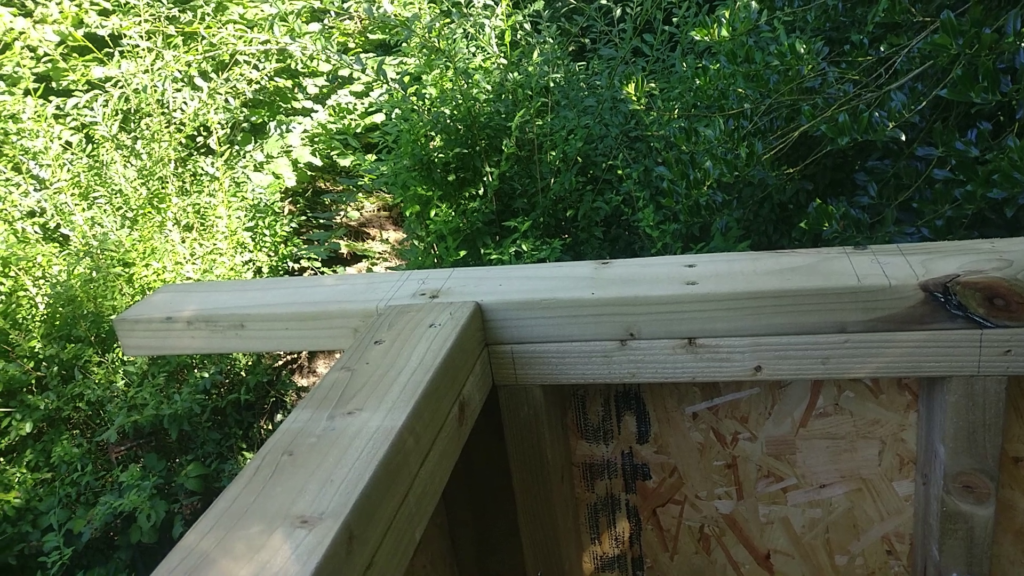
- Pro Tip: When framing a shed roof, be sure to stagger the joints of your top plate across the corners where the front and side walls meet. When you drive your screws through both layers, it locks the entire structure together, providing massive rigidity for the roof load.
- Overhangs: I left a 300mm overhang on the top plates. This serves as the foundation for the “ladder” structure that will eventually support the fascia and soffit on the front and rear of the shed.
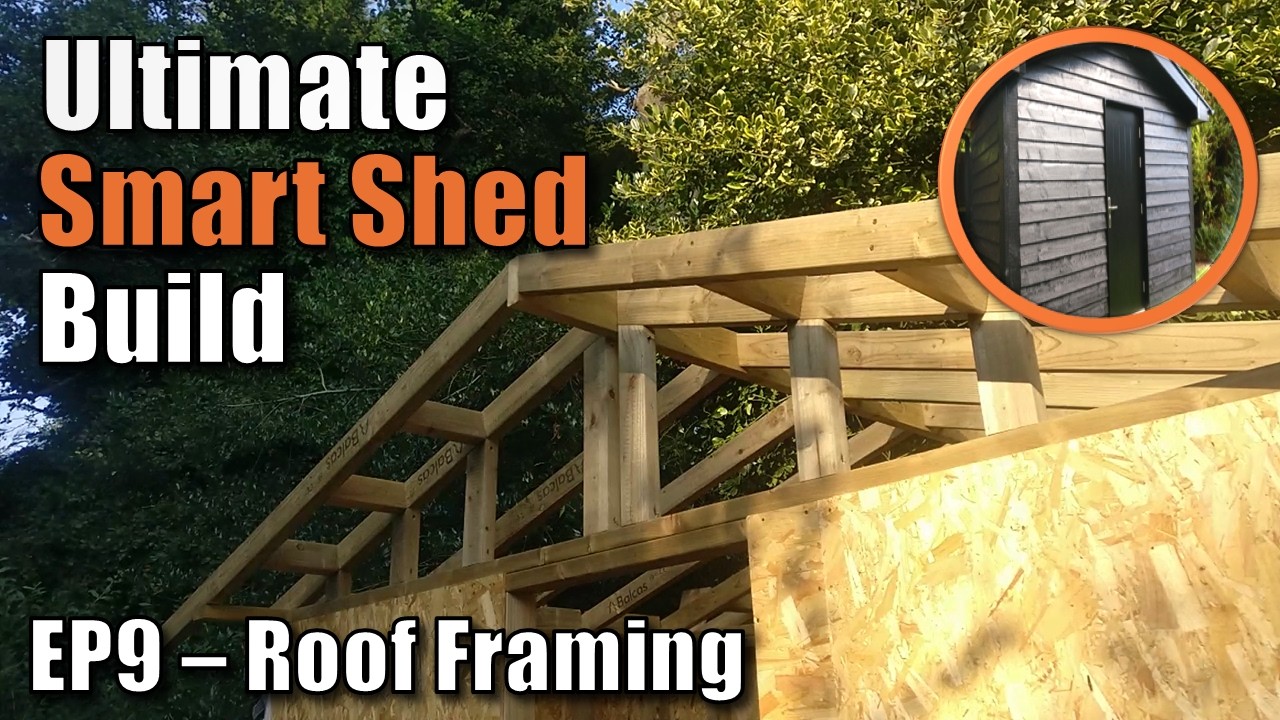
Step 2: Setting the Ridge Beam
For this smart shed, I used a 40mm x 150mm ridge beam. A beefier ridge beam ensures that once the rafters are cut at an angle, you have a full face of wood for a maximum mechanical connection.

- Support: When framing shed roof, I used two temporary vertical supports to hold the ridge beam level while I installed the rafters.
- Pitch: I set the ridge height to achieve a 20-degree pitch, which is the ideal angle for the slate tiles I’m planning to use in the next episode. I didnt use a roofing square, just simple pythagoras tan(0)=Opposite/adjacent. Of for our shed, Tan(20 degrees)=opposite/6ft. The 6ft being half the width of the shed, 20 degrees the desired pitch and then a bit of algebra reveals the height to place the ridge beam.
Step 3: Cutting Birdsmouth Joints (The Easy Way)
The “birdsmouth” is the notch cut into a rafter that allows it to sit flat on the wall plate. While many pros use roofing squares and complex math, I used a simple “template” method that anyone can follow.

The Template Method:
These are the simple steps to making a birdsmouth cut with no roofing tools required. You can also follow along on the video at the dedicated video chapter “No-Square” Method for Birdsmouth Cuts”
- The Ridge Cut: I made an initial “guess cut” at the top of a rafter and rested it against the ridge beam.
- The Notch: I measured a 33mm drop from the top of the joist (roughly 30% of the diagonal width) and hammered in a nail for support while marking out.
- The Spirit Level Trick: I held a spirit level against the ridge beam and scribed a line on the rafter. This creates a line perfectly parallel to the ridge.
- Scribing the Plate: At the wall end, I used the same spirit level to mark a line parallel to the wall plate.
- The Cut: After cutting the first “master template,” I tested it on all four corners to ensure the build was square before using it to mark the remaining 13 rafters.

Step 4: Structural OSB & Expansion Gaps
With the rafters screwed into place (using screws at the top, bottom, and side for a 3-way mechanical lock), it was time for the decking. I used 11mm structural OSB sheeting (2440mm x 1220mm).

- Single-Handed Install: If you’re building alone, screw temporary timber battens to the bottom of your rafters. These act as a “shelf” to hold the OSB sheets in place while you climb up to screw them down.
- Expansion Gaps: Don’t butt the sheets tight at the ridge. Leave a 10mm to 15mm expansion gap at the very top to allow the wood to breathe and move with temperature changes.

Step 5: Weatherproofing with Breathable Membrane
Once the main task of framing a shed roof reached the dry-in stage, I installed a breathable UV-resistant membrane for temporary protection while prepping for tiling.

- Why Breathable? It lets moisture escape from inside the building while keeping rain out.
- Installation: I started at the bottom, leaving a 50mm overhang to tuck into the guttering. Each subsequent layer was overlapped so that water naturally runs down and off the roof.

Structural Logic: Framing a Shed Roof for the Long Haul
When designing the roof for the Ultimate Smart Shed, I moved away from “standard” shed kits that often use 2×2 timber and felt. To ensure this building stands for 25+ years and houses expensive tech securely, I applied two key engineering principles:
1. The Dead Load Calculation
A “Dead Load” refers to the weight of the roofing materials themselves. Most sheds are built for lightweight asphalt shingles. However, because we are using natural slate tiles in the next episode, the roof must support significantly more weight (roughly 30–40kg per square meter).
- The Choice: I opted for 4×2 (C16/C24 grade) rafters.
- The Centers: By placing rafters at 16-inch (400mm) centers, we minimize “sag” and ensure the roof deck remains perfectly flat under the weight of the stone.
2. The Continuous Load Path
A roof isn’t just about weight pushing down; it’s about wind uplift pulling up. When framing a shed roof, we ensure long-term durability by using a Double Top Plate and tying the rafters into it with 100mm structural screws. Rather than just toe-nailing, this method creates a continuous connection from the ridge beam all the way down to the concrete anchor bolts in the slab.
Technical Specifications Reference
For the builders following along at home, here are the precise specs used in this Part 9 build:
| Component | Specification | Why It Matters |
| Ridge Beam | 40mm x 150mm (C24) | Provides a massive “landing zone” for angled rafter cuts. |
| Roof Pitch | 20 Degrees | The minimum recommended pitch for natural slate to ensure water runoff. |
| Rafter Spacing | 400mm (16″) Centers | Prevents OSB deflection and supports heavy tile loads. |
| Fasteners | 100mm x 6mm Structural Screws | Offers superior “shear strength” compared to standard framing nails. |
| Roof Sheathing | 11mm OSB3 (Structural) | OSB3 is moisture-resistant and provides “racking” strength to the frame. |
| Fascia Overhang | 300mm | Protects the side cladding from rain splashback and creates a “pro” look. |
Timber Span & Load Capability Table (Roof Rafters)
| Timber Size (mm) | Timber Grade | Max Clear Span (m) | Max Load Capability | Recommended Use |
| 47 x 100 (4×2) | C16 | 2.08m | Standard | Small Sheds / Felt Roofs |
| 47 x 100 (4×2) | C24 | 2.35m | High (Heavy Slate) | Built By Pete “Smart Shed” |
| 47 x 150 (6×2) | C16 | 3.13m | High | Large Workshops / Garages |
| 47 x 150 (6×2) | C24 | 3.53m | Very High | Habitable Rooms / Tile Roofs |
| 47 x 200 (8×2) | C24 | 4.64m | Ultra High | Industrial Sheds / Lofts |
The “Builder’s Secret”: Mastering the 20-Degree Offset
During the build, I encountered a technical nuance that often trips up DIYers: The Circular Saw Offset.
When your circular saw is set to 90°, the blade aligns perfectly with the zero-mark on the guide. However, once you tilt the baseplate to a 20° bevel for the birdsmouth cut, the geometry changes. On my specific saw, the blade shifted 4mm inward from the standard guide mark.
Pro-Tip: Never trust the guide marks on a beveled cut for precision work. Before cutting your rafters, take a scrap piece of 4×2, mark a line, set your bevel, and perform a test cut. Measure the distance between your line and the actual kerf. In my case, marking a 4mm offset allowed me to hit the scribe lines perfectly every time, resulting in an “air-tight” birdsmouth fit.
Lateral Bracing & Infill Blocking
Once the rafters were in place, the job of framing a shed roof wasn’t done; to truly ‘lock’ the structure, I installed infill blocking between the rafters directly above the wall plates.
- The Purpose: These blocks prevent the rafters from “rolling” or twisting under load.
- The Seal: I cut these blocks with a 20-degree taper on the top edge. This ensures they sit flush against the underside of the OSB decking, sealing the gap between the wall and the roof to keep out drafts and pests.
- The Strength: I drove two 100mm screws through these blocks into the wall plate and one through the side into the rafter itself. This creates a rock-solid perimeter for the entire roof structure.
Framing a Shed Roof FAQ
Q: Why use a birdsmouth cut instead of just sitting the rafter on top?
A: A birdsmouth joint increases the surface area of the connection. This makes the joint mechanically superior and prevents the roof from “spreading” or sliding off the walls under heavy snow or wind loads.
Q: Do I need a roofing square for a 20-degree pitch?
A: As shown in the video, you can use the “template and level” method to find your angles. However, for a 20-degree pitch, your rise and run math (roughly 2ft rise for a 6ft run) will get you there accurately.
Q: What size screws should I use for roof framing?
The structure is officially “dried in,” but it’s not finished yet. In the next episode, we’re going “high-end” by installing natural slate tiles. You won’t want to miss the transformation!
More Episodes
- Catch up on other parts of the shed build series
- Article on some of the tools and gadgets used here on BuiltbyPete
Subscribe Now!
If you found this Framing a Shed Roof guide interesting and are ready to stop guessing and start troubleshooting your own tech plus smart DIY, head over to the Built By Pete YouTube channel! We’ve got hundreds of other DIY projects and smart home tutorials. Click here to subscribe to the BuiltByPete youtube channel and hit the notification bell so you never miss out on the tips, tricks, and step-by-step guides that will simplify your tech life.