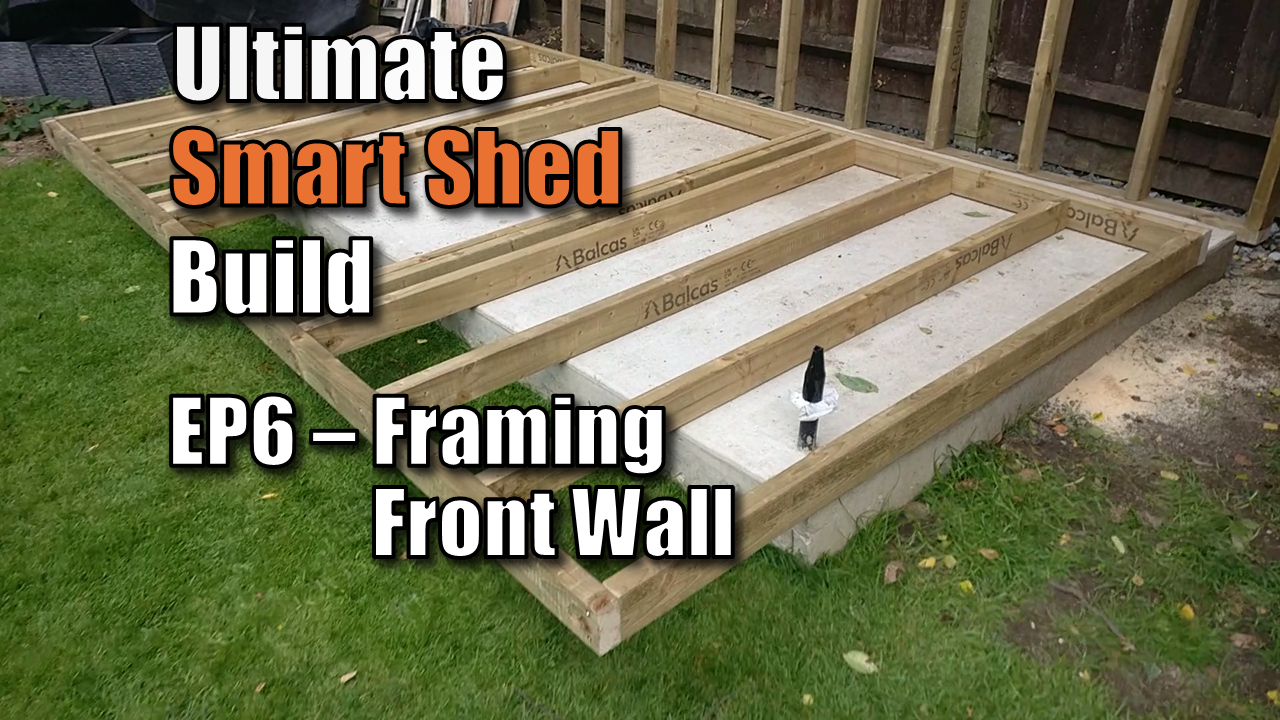
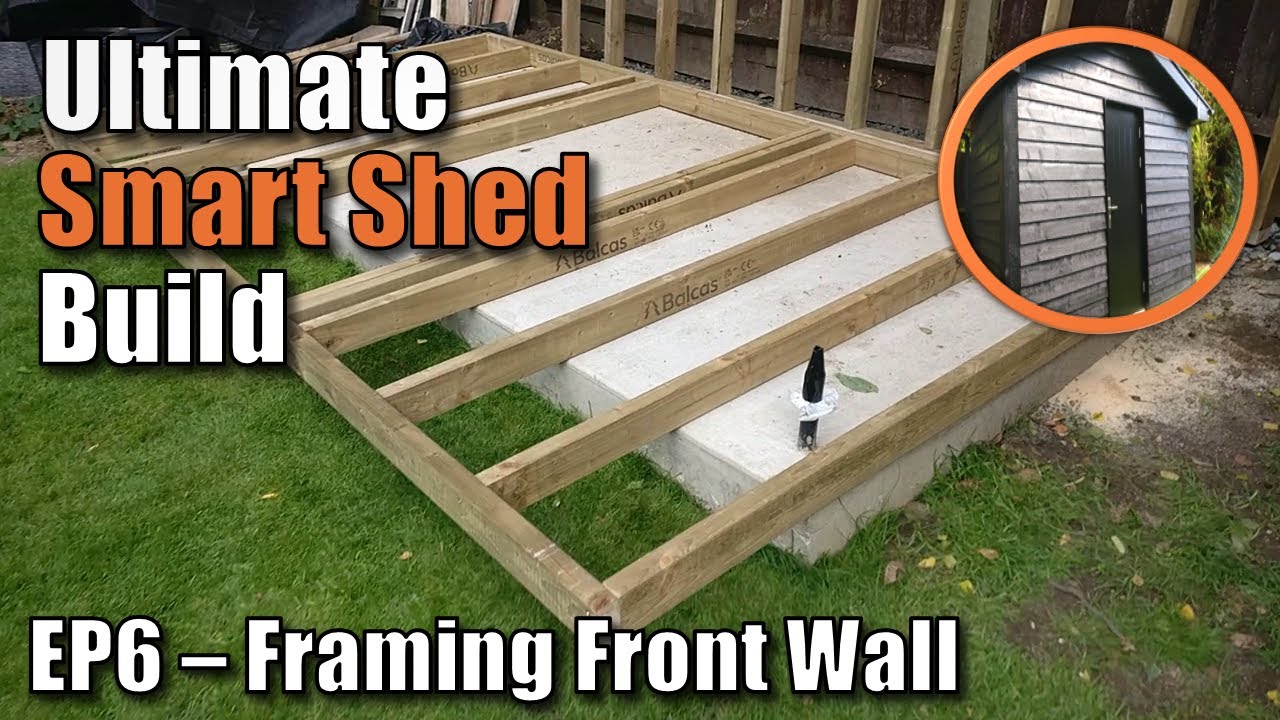
Building the ULTIMATE Smart Shed (Part 6 – Framing the Front Wall)
Welcome back to the Ultimate Smart Shed build series! If you’ve been following along, you know we’ve already cleared the site and framed the back and side walls. Today, we are tackling the final—and most technical—wall of the structure: The Front Wall.
Unlike the solid back and side walls, the front wall requires a precise opening for our high-security door while maintaining the structural integrity needed to support the roof. This is where the skeleton of the shed really starts to take shape.
Watch the Shed Build: Framing the Front Wall
Preparation and Timber Standards
To keep the shed uniform, I started with two 4.2m 4×2 beams, which were cut down to 3.66m to match the shed’s footprint. For the uprights (studs), I prepared 10 beams cut to a length of 1.985m.
C16 vs. C24: Which Timber Should You Use?
When buying “4×2” (47mm x 100mm) for your shed frame, you’ll notice two main grading standards: C16 and C24. For the front wall, knowing which to use is key for long-term stability.
| Feature | C16 (Standard Grade) | C24 (Premium Grade) |
| Strength (Bending) | 16 N/mm}^2 | 24 N/mm^2 |
| Appearance | More knots, some grain defects. | Fewer knots, straighter grain. |
| Density | Lower (approx. 370 kg/m^3 | Higher (approx. 420 kg/m^3. |
| Best Use | Internal stud walls, partitions. | Roof joists, floor spans, headers. |
Pete’s Choice: For my shed I selected C16 for the frame and roof, although for the roof I used a stonger and dimensionally ridge beam.
Technical Deep Dive: Anatomy of a Shed Door Frame
Building an opening for a door isn’t just about leaving a gap. To ensure your shed doesn’t sag or “rack” over time, you need to understand the three key components of this frame:
- King Studs: These are the full-height vertical studs that run from the bottom plate to the top plate on either side of the door opening.
- Trimmer (or Jack) Studs: These are “sister” studs nailed directly to the King Studs. They are shorter because they support the weight of the Header.
- The Header (Lintel): This is the horizontal beam that sits on top of the Trimmer studs. It redirects the roof load around the door opening to the floor.
Pro-Tip: For a heavy security door, always double up your Trimmer studs. It’s a small extra cost for a massive increase in door stability. I used a double top for this application as its a single story shed carrying little wieght.
The Framing Process
The assembly followed a strict protocol to ensure the wall is perfectly square and strong:
- 16-inch Centers: I maintained the standard 16-inch spacing between studs. This provides the best support for external OSB and internal tool racks.
- Double Uprights: I doubled up the beams around the door inner seal to transfer the load effectively.
- Fastening: I used 100mm performance framing screws rather than nails. Screws provide superior clamping force and allow you to make adjustments if something is a fraction of a millimetre off.
- Double Top Plate: While the frame currently has a single top plate, I will add a second top plate once all four walls are standing to lock the entire structure together.

Why the Front Wall is Critical for “Smart” Integration
This isn’t just a garden shed; it’s a tech-integrated workspace. By framing with 16-inch centers now, we are creating the perfect internal voids for:
- PoE Security Cameras: Running Cat6 cable inside the frame before the sheathing goes on.
- Smart Door Locks: Ensuring the frame is perfectly square so electronic deadbolts never jam or “bind.”
- Outdoor Lighting: Planning the drill points for PIR sensors and LED downlights.
- Internal wiring: for sockets, switches and lighting.
Common Shed Framing Mistakes to Avoid
- Forgetting the Rough Opening: Always make your frame roughly 12mm (1/2 inch) wider than the actual door to allow for shimming and squaring.
- Skipping the Double Top Plate: Without that second plate to “overlap” the corners, the building won’t be tied together properly.
- Using Non-Treated Timber: Ensure your bottom plate (which touches the concrete base) is pressure-treated, or it will rot within a few seasons.
Shed Framing FAQ
Q: Can I use a circular saw for these cuts?
A: Absolutely. I used the DeWALT DCS391N for the main plates, though a chop saw is faster for the 10 identical uprights.
Q: Why use 16-inch centers instead of 24-inch?
A: 16-inch centers make the wall much stiffer. If you plan on hanging heavy storage or lining the walls with plywood, you’ll want that extra strength.
Q: Do I need to pre-drill for framing screws?
A: 16-inch centers make the wall much stiffer. If you plan on hanging heavy storage or lining the walls with plywood, you’ll want that extra strength.
Pete’s Essential Framing Tool Kit
To get the results you see in the video, these are the tools I recommend:
- DeWALT DCS391N Circular Saw
- Impact Driver (for those 100mm screws)
- 600mm & 1200mm Spirit Levels
- Speed Square (for accurate 90-degree marks)
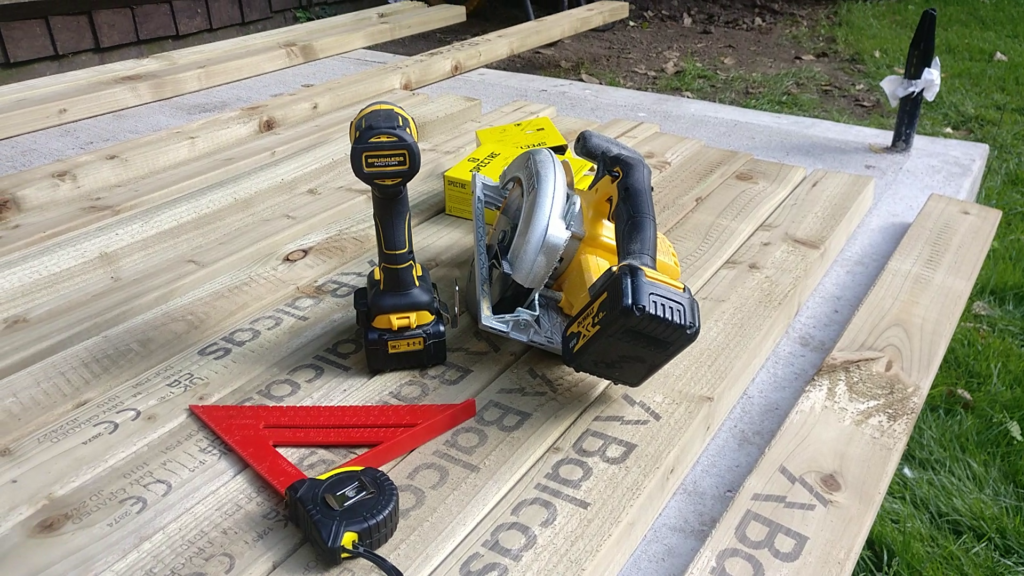
I have written an article comparing a combi drill and impact driver so you can see whats better for you.
What’s Next?
All four walls are now framed! In the next episode, we’ll be standing them up on the base and sheathing them with OSB boards to finally make this thing structural sound and ready for making it weather proof and weather-tight.
Are you building your own workshop or shed? If you have questions about stud spacing or timber grades, drop a comment over on the youtube channel video page.
Subscribe Now!
If you found this episode of the Ultimate Shard Build series interesting and are ready to stop guessing and start troubleshooting your own tech plus smart DIY, head over to the Built By Pete YouTube channel! We’ve got hundreds of other DIY projects and smart home tutorials. Click here to subscribe to the BuiltByPete youtube channel and hit the notification bell so you never miss out on the tips, tricks, and step-by-step guides that will simplify your tech life.