Shed Framing 101: How to Build a Strong Rear Wall (Smart Shed Part 4)
We’ve cleared the site, laid the conduit, and poured a flawless concrete foundation. Now, it’s time for the most satisfying part of the project: Vertical construction.
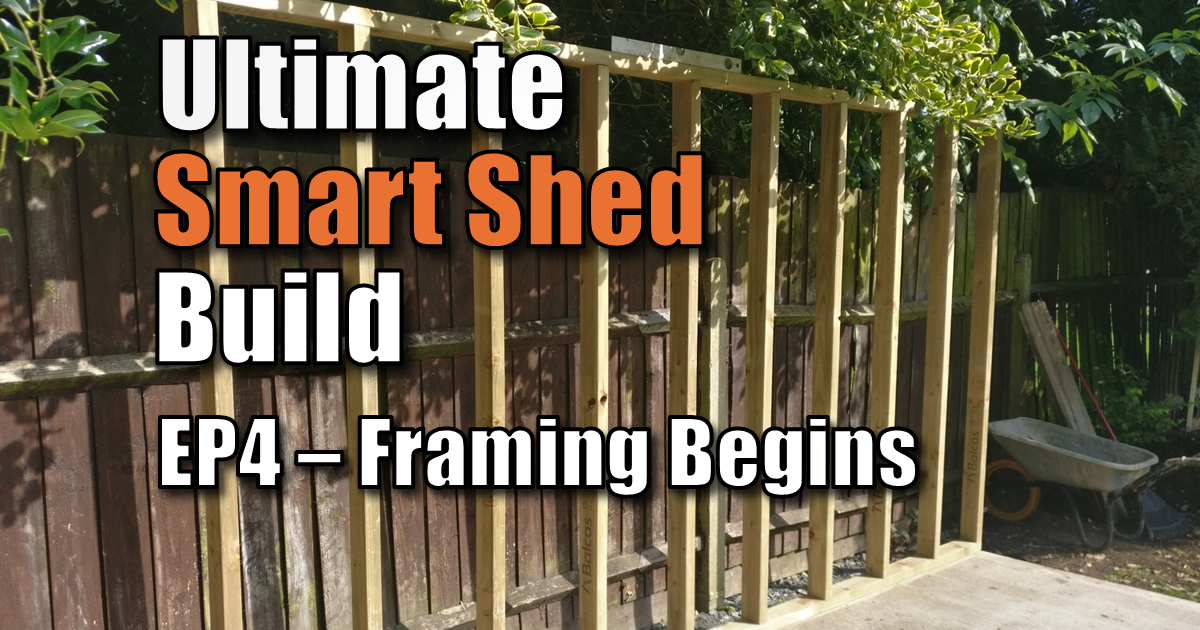
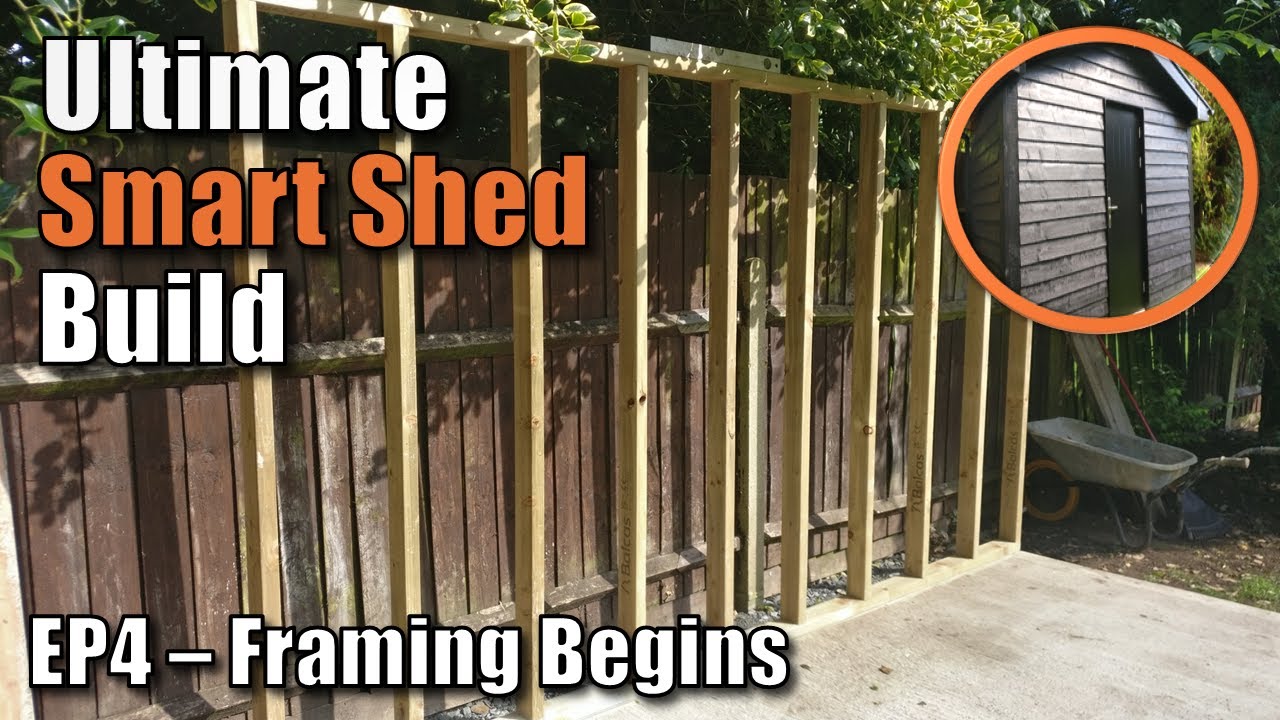
In this Shed Framing guide, I’m showing you exactly how to frame the rear wall of a 12ft x 6ft shed using 4×2 timber. Whether you are building a workshop or a high-tech garden office, getting your framing square and sturdy is non-negotiable.
Watch the Build: Framing the Rear Wall
The Timber Buying Guide: Why “4×2” Isn’t 4×2
One of the biggest hurdles for DIYers is the timber yard. For this build, I used pressure-treated, Easy-Edge C16 timber, but labels can be deceiving.
1. Nominal vs. Actual Size
In the UK, we call it “4×2” (100mm x 50mm). However, after it’s been planed and sanded to give it those nice rounded corners (Easy Edge), it’s actually smaller.
- Actual Size: Usually closer to 95mm x 45mm.
- Pete’s Tip: Always measure the actual wood before you calculate your final door heights or roof slopes!
2. C16 vs. C24 and “Tanalised”
- C16 Grade: The “sweet spot” for shed framing. It’s strong, cost-effective, and plenty for a garden building.
- Tanalised (Pressure Treated): This is non-negotiable for outdoor builds. It protects the frame from rot and insects—especially important since my shed is near a stream.
Project Calculations: The “Metric Hack”
Standard OSB boards are 2440mm x 1220mm. To save hours of cutting, I used a metric adjustment for the wall length.
| Component | Planned (Imperial) | Actual (Metric) | Reason |
| Wall Length | 12ft | 3660mm | To fit three full 1220mm OSB boards exactly. |
| Stud Spacing | 16 inches | 406mm | Standard structural spacing for 12mm OSB. |
| Stud Height | 6.5ft | 1985mm | Allows for a standard door height + 5mm clearance. |
Tools & Assembly
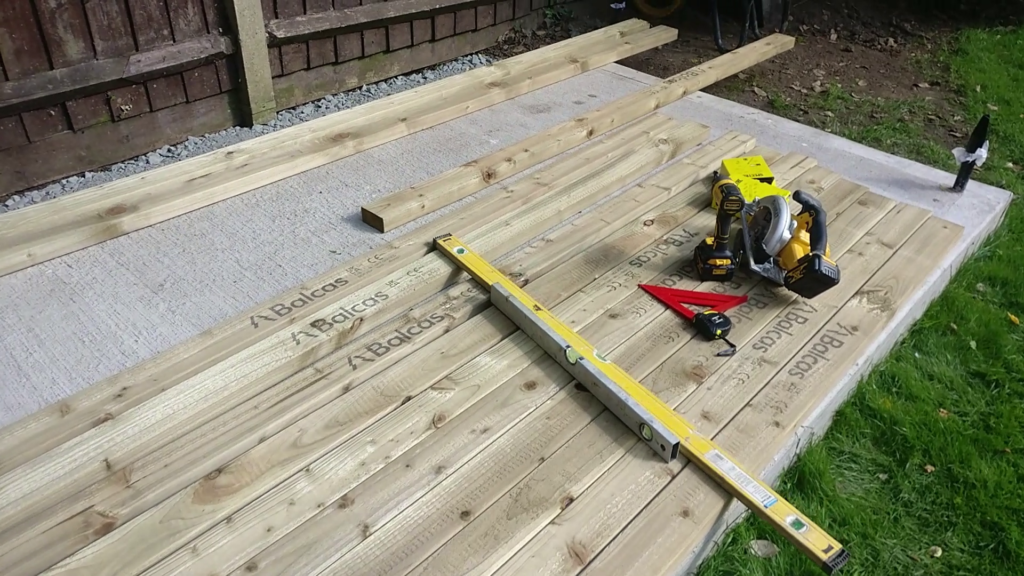
I kept the tools minimal so anyone can follow the shed framing along and keep the costs to a minimum. Here’s are links to the tools that i used throughout the build:
- Dewalt Store : https://amzn.to/4mSlXiL
- Spirit Level : https://amzn.to/4fZJw6A
- Utility Knife : https://amzn.to/47WncZz
- Drill : https://amzn.to/3HBjudm
- Impact Driver : https://amzn.to/47jO1GZ
- Screws : https://amzn.to/3K8SiDG
- Skill Saw : https://amzn.to/41XJiY3
The Screw Battle: Zinc vs. Socket-Head
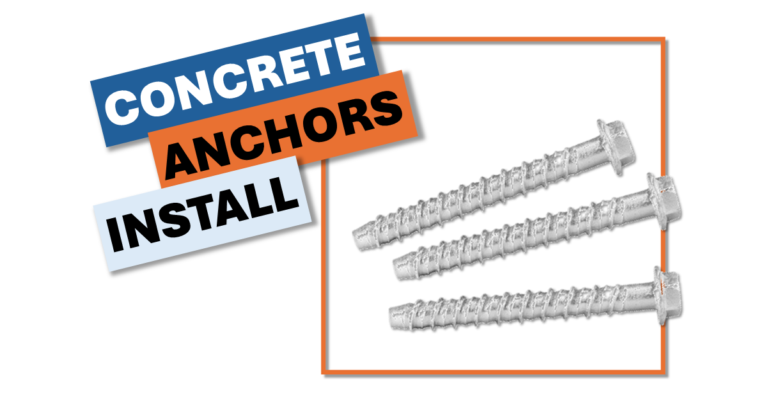
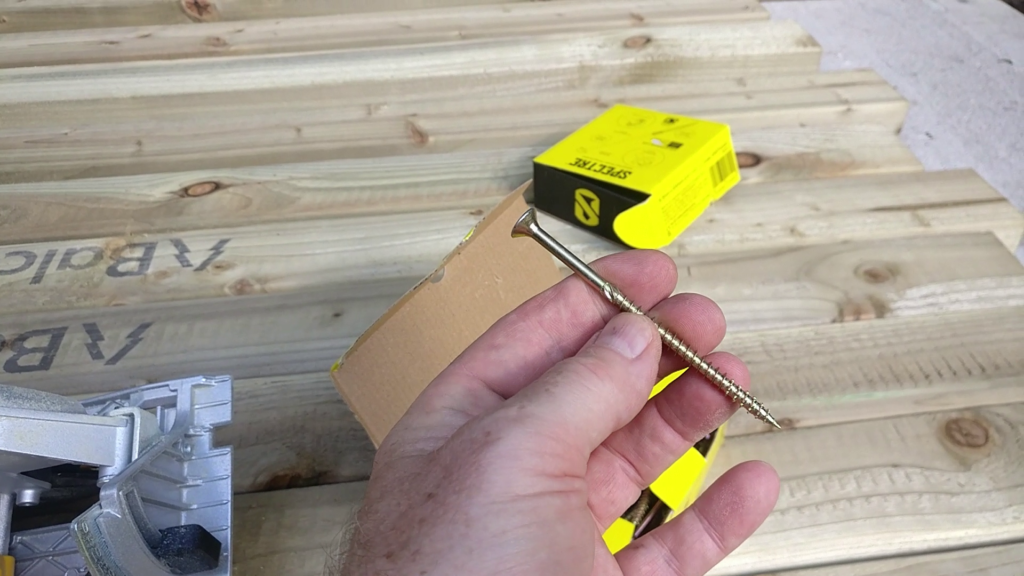
I tested two types of Spectre 100mm x 6mm structural screws for shed framing.
- The Winner: Spectre Multi Purpose Advanced Wood Screws. The grip is phenomenal, and they don’t “cam-out” (slip) like standard zinc screws. When driving through 4×2, an Impact Driver makes this effortless.
Dealing with Twisted Timber
Wood is rarely perfect. If a stud is warped:
- Use a Quick Grip clamp to pull the timber into alignment against your plate.
- Drive the screw home—it will hold the tension and keep your wall square.
Assembling the “Ladder”: How to Screw Your Frame Together
Once you have your top and bottom plates marked and your studs cut to length, it’s time to assemble the wall. I find it easiest to build the frame flat on the ground (or on your new concrete slab!) before raising it.
1. Laying Out the Studs
Position your top and bottom plates on their edges and slide the vertical studs between them. Align each stud with the 16-inch center marks you made earlier.
Pete’s Tip: Don’t just center the stud on the line; make sure the stud is perfectly flush with the edges of the plates. If the stud sticks out even a few millimeters, your OSB sheathing won’t sit flat later.

2. Driving the Screws
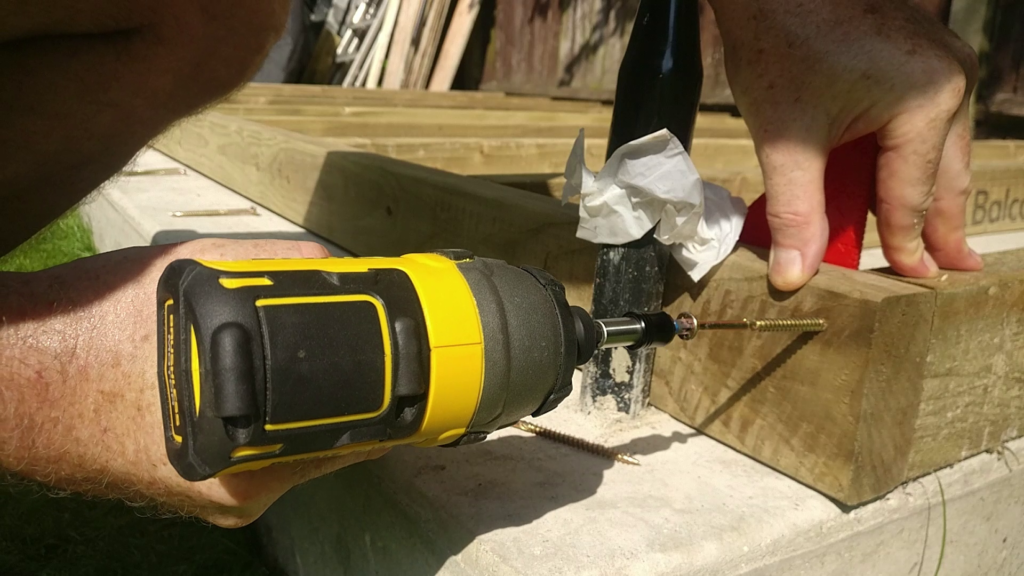
Using my DeWalt Impact Driver and those 100mm Spectre socket-head screws, I drove two screws through the plates into the end of each stud.
- Why two screws? Using a single screw allows the stud to “pivot” or rotate. Two screws lock the joint and prevent the frame from racking.
- No Pre-Drilling: High-quality structural screws have a self-tapping tip, meaning you can drive them straight in without splitting the timber—saving you a massive amount of time.
3. Fixing “The Twist” with Quick Grips
Natural timber often has a slight “crown” or a “twist.” If you find a stud that won’t sit flush against the plate:
- Clamp it: Use a Quick Grip clamp to force the stud into alignment with the edge of the plate.
- Screw it: While the clamp is holding the timber in the correct position, drive your screws home.
- Release: Once the screws are in, they will act as a permanent clamp, holding that “twisted” wood in a perfectly straight line for the life of the shed.

4. Squaring the “Ladder”
Before you tighten everything fully, do a final check. Measure the diagonals of the entire wall frame. If the distance from Top-Left to Bottom-Right is the same as Top-Right to Bottom-Left, your wall is perfectly square and ready to be raised!
Rear Wall Framing Checklist
- [ ] Measure twice: Confirm your OSB board width (Metric 1220mm).
- [ ] Cut Plates: Cut top and bottom plates to 3660mm.
- [ ] Mark Centers: Mark 16-inch (406mm) centers on both plates at the same time.
- [ ] Cut Studs: Ensure all vertical studs are exactly 1985mm.
- [ ] Assemble: Screw the studs to the bottom plate first, then the top.
- [ ] Tug Test: Ensure every screw is biting into the C16 core, not just the edge. Two Screws per joint is recommended.
Shed Framing FAQs
Should I use nails or screws for shed framing?
In this build, I used 100mm structural screws and an impact driver. While professional builders often use nail guns for speed, screws are much better for DIYers. They offer higher “pull-out” resistance and, most importantly, they allow you to easily unscrew a stud if you realize you’ve made a measurement mistake.
Can I use 24-inch centers instead of 16-inch?
You can, but I don’t recommend it for a “Smart Shed.” 16-inch (406mm) centers provide a much stronger frame, especially if you plan to hang heavy tool racks, monitors, or shelving inside. It also ensures your OSB sheathing is better supported, preventing “bowing” over time.
How do I know if my wall is square once it’s built?
The easiest way is to measure the diagonals. Hook your tape measure on the top-left corner and measure to the bottom-right. Then do the opposite. If the two measurements are identical, your wall is perfectly square. Do this before you screw the frame to your floor or foundation!
Is it okay to use untreated timber if I’m painting it?
No. For the structural frame of an outdoor building, you should always use pressure-treated (Tanalised) timber. Paint only protects the surface; pressure treatment forces preservatives deep into the wood fibers to prevent rot from the inside out, which is vital for the parts of the frame you’ll never see again once the walls are on.
What is the best way to cut 4×2 timber accurately?
While a hand saw works, a Circular Saw or a Mitre Saw is much better for a project of this scale. A Mitre Saw (Chop Saw) is the gold standard because it ensures the ends of your studs are perfectly square, which means your wall will stand truly vertical when you raise it. But, using using a framing square as a guide for cuts does the trick at a fraction of the price.
What’s Next?
Now that the rear wall is framed, we move on to the side walls and finally standing this thing up on the concrete base.
Related Content:
Subscribe Now!
If you found this Shed Framing guide interesting and are ready to stop guessing and start troubleshooting your own tech plus smart DIY, head over to the Built By Pete YouTube channel! We’ve got hundreds of other DIY projects and smart home tutorials. Click here to subscribe to the BuiltByPete youtube channel and hit the notification bell so you never miss out on the tips, tricks, and step-by-step guides that will simplify your tech life.