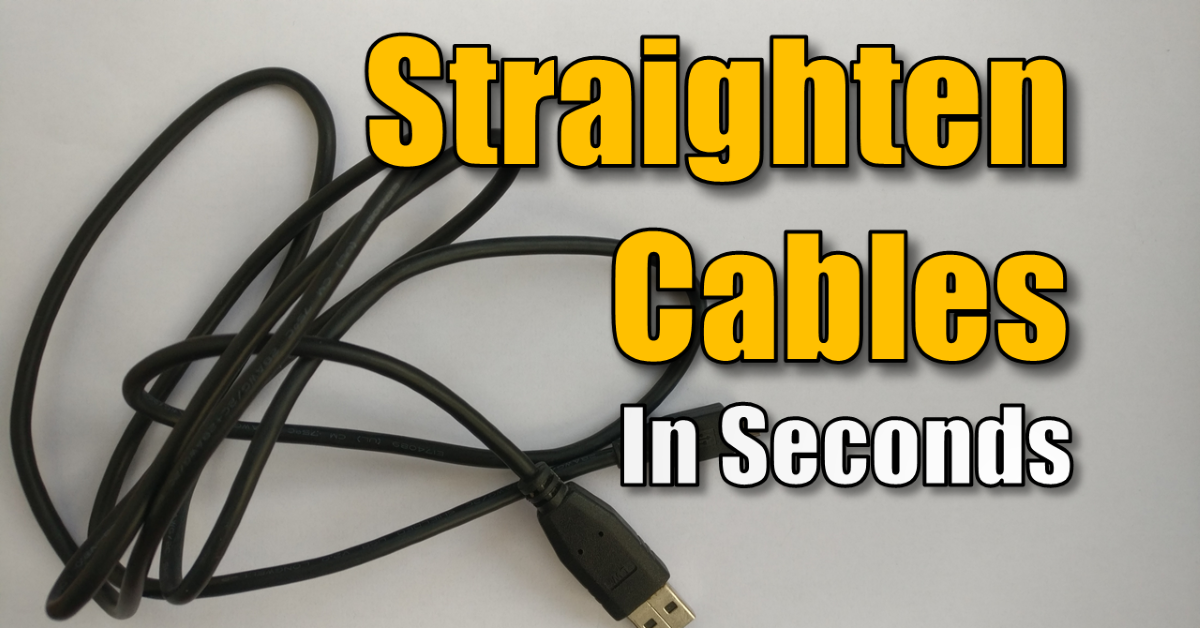
The 5-Minute Trick: How to Easily Straighten Cables and Remove Annoying Kinks
Straighten Cables. If you’re like most people, you have a collection of charging and data cables that are perpetually tangled, bent, and deformed. PVC-coated cables, like the common USB types, develop a “memory” of their kinked state, making them frustrating to use and impossible to pack neatly.
Fortunately, there’s a simple, scientific trick that can relax the coating’s molecules and allow you to restore your cables to a perfectly straight, like-new condition—in just a few minutes!
The Simple Science: Why Cables Get Kinky
When PVC (Polyvinyl Chloride) cable sheathing is repeatedly bent and stored in a tangled mess, the polymer chains in the plastic “set” into those new, deformed positions. Even when you manually try to straighten cables, they spring right back. The secret to fixing this is controlled heat, which temporarily relaxes the molecular structure, allowing you to manually reset its shape.
Your 5-Step Guide to Straighten Cables
This method requires just a few simple household items and takes less than five minutes of active time.
Materials You’ll Need:
- A kettle
- A bowl (deep enough to submerge the cable)
- A spoon (or similar tool for holding the cable down)
- A clean, dry cloth
1. Prep the Hot Water (But Don’t Boil the Cable!)
First, boil your kettle. Once boiled, pour the water into your bowl, ensuring there is enough to submerge the entire length of the cable.
Crucial Safety Step: You must allow the water to cool down to between 60°C and 80°C (140°F to 176°F). Any hotter, and you risk melting or damaging the PVC sheathing. If you don’t have a thermometer, simply let the water sit for a few minutes until it is hot to the touch but not aggressively steaming.
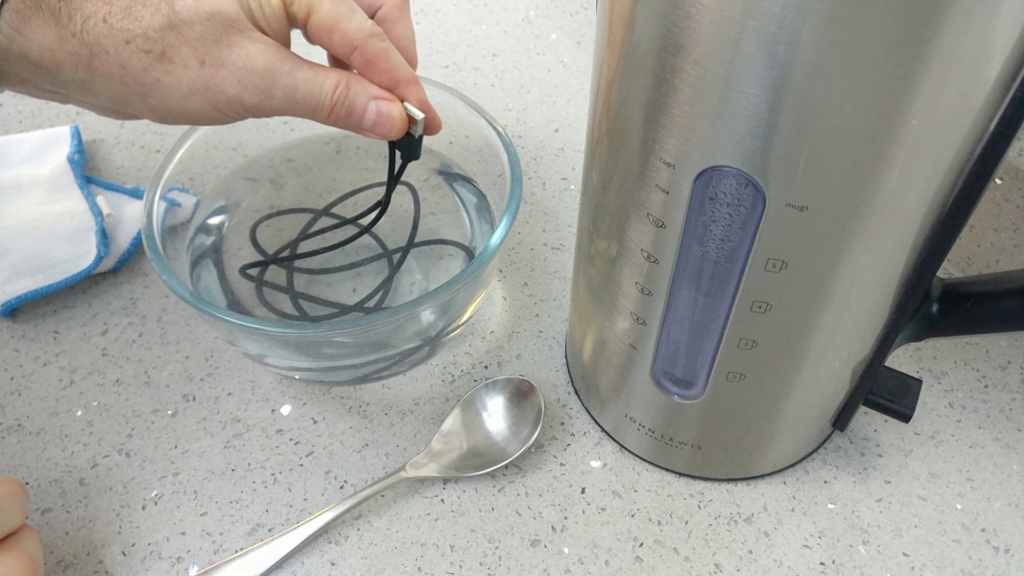
2. Submerge the Cable Body (Keep the Ends Dry!)
Take your kinked cable and grab the two connector ends. These must not go in the water. Gently lower the main body of the cable into the water. Use the spoon to push the cable down so that the entire length of the PVC is submerged, keeping the connection ends well above the waterline.
3. Let the PVC Relax for 2 to 3 Minutes
Once submerged, let the heat soak in for 2 to 3 minutes. This is the key process where the heat penetrates the PVC, causing the molecules to relax and lose their “memory” of the bent shape.
4. The Straightening Pull
After the time is up, carefully remove the cable while still holding the dry ends. Immediately take your dry cloth and pinch the cable with it.
Pull the cable through the cloth, wiping it dry as you go, and apply a gentle pulling pressure to straighten it fully. Repeat this action a few times along the cable’s entire length.
5. Final Cool Down
Once you have pulled the cable through the cloth to a straight position, the job is done! As the cable cools down, the molecules will find their new, nice, straight position, leaving you with a perfectly straight cable, free of all kinks and bends.
This simple technique is a fantastic way to restore the usability and neatness of any older PVC-coated cable you have lying around.
Frequently Asked Questions (FAQ)
- How to Fit an Electric Socket Blanking Plate: A Clean & Safe DIY Guide
- How to Change a Double Wall Socket (UK): A Step-by-Step DIY Guide
- Why You Need Wire Ferrules for the Best Crimp Connections
- UK Domestic Wiring Explained: A Homeowner’s Guide to Safety and Circuits
Is it safe to put my cables in hot water?
Yes, as long as you follow two main rules: keep the metal connectors (plugs) out of the water and ensure the water is not boiling. The goal is to soften the outer PVC casing, not to melt it. Most standard USB and power cables are waterproof on the outside.
How hot should the water be for straightening cables?
You want the water to be around 80°C (176°F). This is hot enough to relax the “plastic memory” of the PVC without reaching the boiling point (100°C), which could potentially degrade the plastic or release fumes.
Does this trick work on braided cables?
This method is most effective on standard PVC or rubber-coated cables. While it can work on braided cables, you should be careful as the fabric can absorb water and take longer to dry. If you try this with braided cables, consider placing them in a waterproof Ziploc bag before submerging them in the hot water.
How long should I leave the cable in the water?
Generally, 30 to 60 seconds is enough for thin cables (like USB-C or Lightning cables). For thicker power cables or HDMI leads, you may need to leave them in for 2 to 3 minutes to allow the heat to penetrate the thicker insulation.
Can I use a hairdryer or heat gun instead?
A hairdryer can work, but it is less consistent than hot water. Hot water provides “even” heat across the entire surface of the cable at a controlled temperature. Heat guns are often too hot and can easily melt the casing or damage the internal wiring if you aren’t extremely careful.
Will this process damage the internal wires?
No, the internal copper wiring is highly resistant to these temperatures. As long as you don’t pull the cable by the connectors (which could strain the solder joints) and you keep the plugs dry, your cable will function perfectly—just much straighter!
Is this a permanent fix?
Yes! Once the plastic “relaxes” in the straight position and cools down, its “memory” is reset. To keep them this way, avoid coiling them tightly in the future; instead, use the “over-under” coiling method used by professionals.
See the Trick in Action!
Watch the Video in Full Ready to fix your own tangled charging cable? Watch Pete demonstrate this whole process on the Built By Pete YouTube channel: Straighten Cables in a Few Seconds | Remove all Kinks and Bends.

Subscribe Now!
If you found this how to Straighten Cables guide helpful and are ready to stop guessing and start troubleshooting your own tech and smart DIY, head over to the Built By Pete YouTube channel! We’ve got hundreds of other DIY projects and smart home tutorials. Click here to subscribe and hit the notification bell so you never miss out on the tips, tricks, and step-by-step guides that will simplify your tech life.