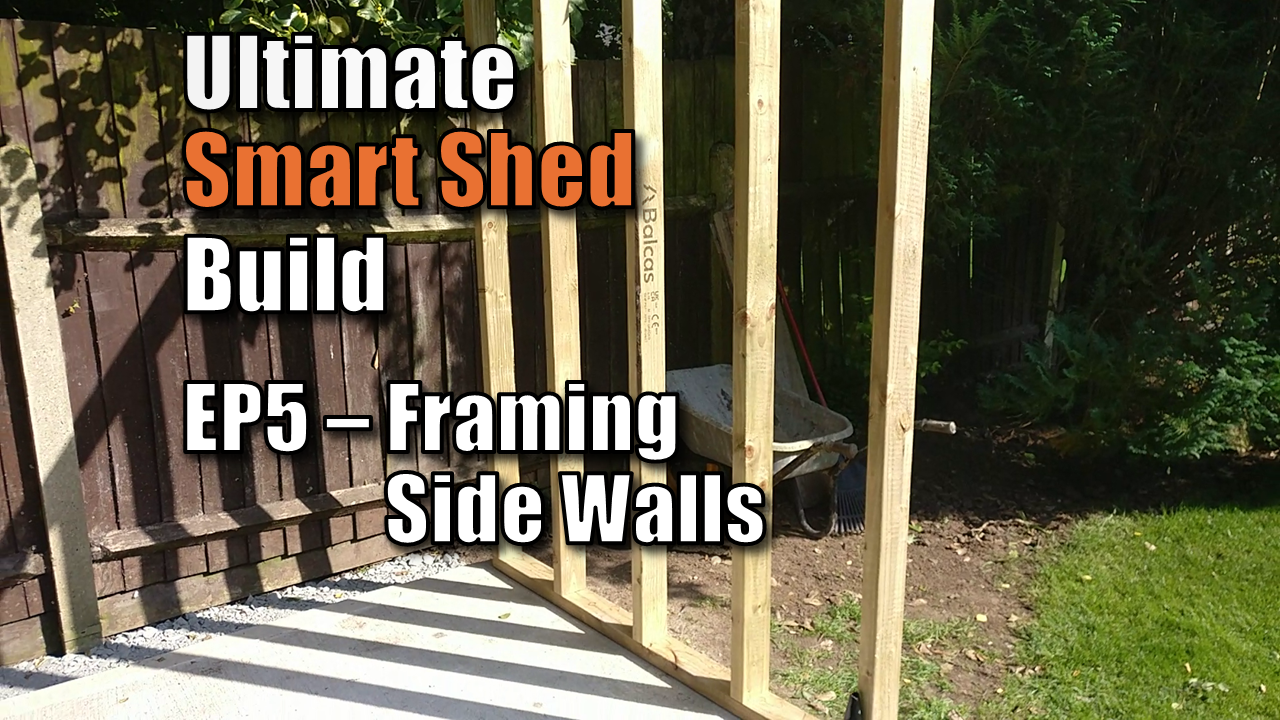
How to Frame Shed Side Walls: The Ultimate Smart Shed (Part 5)
Learning how to frame shed side walls correctly is the difference between a flimsy garden shack and a professional grade shed. Welcome back to Part 5 of the Ultimate Smart Shed build series! Now that the foundation is set and the rear wall framed, we are continuing with the walls. In this episode, I’ll show you how to frame your side walls using the “Batch Marking” method. This technique ensures your walls are identical, perfectly square, and ready to support the weight of the roof.
Watch the Build: Framing the Side Walls

The Pro Approach: Batch Marking
When you’re building two identical side walls, don’t build them one at a time. Instead, stack all four of your plates (two top, two bottom) and mark them all at once. This keeps everything the same.
Why do this?
- Consistency: Your studs will be in the exact same position on both sides of the shed.
- Speed: You only have to measure and scribe your lines once.
- Accuracy: It eliminates the risk of “measuring twice and cutting twice” with different results.

Materials & Spacing Guide
For a professional-grade building, I am using 16-inch centers. While 24-inch centers are common in cheap “off-the-shelf” sheds, 16-inch centers provide the structural rigidity needed for a “Smart Shed” that will hold heavy monitors, servers, or tool racks.
| Component | Specification | Why? |
| Timber Type | 4×2 C16/C24 Pressure Treated | Structurally graded and rot-resistant. |
| Stud Spacing | 16-Inch Centers | Aligns with standard 8×4 sheet materials. |
| Stud Height | 1.95 Meters | Provides plenty of headroom for taller users. |
| Fixings | 90mm Framing Screws | High pull-down strength to keep joints tight. |
Step-by-Step: How to Frame Shed Side Walls
Framing is where your shed gains its structural integrity. Follow these steps to ensure your walls are identical, straight, and strong enough to support your “Smart” infrastructure.
Step 1: The “Batch Marking” Method
Don’t build your walls one by one. To ensure they are perfect mirrors of each other, take all four of your top and bottom plates and clamp them together on your flat foundation.
- The Scribe: Measure and mark your 16-inch centers (400mm) across all four timbers at once.
- The Square: Use a speed square to carry those lines across the face of all four beams. This guarantees that your studs will be perfectly aligned on both the left and right sides of your shed.

Using a framing square as a guide, use the skill saw to cut the frame beams to length. The frame square ensures you get a perfectly square cut.

Step 2: “Crowning” Your Studs
Before you drive a single screw, you need to check your uprights for a “crown.” No timber is perfectly straight; it usually has a slight curve along its length.
- The Technique: Sight down the narrow edge of each 1.95m stud.
- The Rule: Orient every stud so the “hump” (the crown) faces the outside of the building.
- The Result: When you apply your external OSB or cladding, it will pull the studs flat. If your crowns are randomized, your walls will look “wavy” once the cladding is on.
Step 3: Optional Pre-Drilling
I personally did not find it necessary to pre-drill holes from the framing screws. Pre-drill could help with thinner timbers to avoid splitting. If you wanted to pre-drill, then using a 3mm or 4mm bit, pre-drill two pilot holes through the top and bottom plates at every stud location. This removes a small amount of wood fiber, allowing the screw to grip the grain without acting like a wedge that cracks the plate.
Step 4: Assembly & The “Two-Screw” Rule
Lay your plates on the floor and slot your studs between them.
- Alignment: Ensure the stud is centered on your scribed lines.
- Fixing: Drive two 90mm screws through the plate and into the end of the stud.
- Flush Check: Use your hand to feel the joint—the stud and the plate should be perfectly flush. If one is sticking out, it will create gaps in your insulation and cladding later.

Step 5: Squaring the Frame
Before the screws are fully torqued down, check that the entire wall frame is square.
- The Diagonal Test: Measure from the top-left corner to the bottom-right, then from the top-right to the bottom-left.
- The Adjustment: If the numbers don’t match, give the “long” corner a gentle tap with a mallet until they do. Once square, tighten your fixings.

Shed Framing Checklist
- [ ] C16/C24 Graded Timber: Don’t use non-graded wood for structural walls.
- [ ] Flush Edges: Ensure the studs are perfectly flush with the edges of the plates before screwing.
- [ ] Crown the Wood: Check each stud for a “bow.” If a stud is slightly curved, make sure the curve points “out” so the wall remains flat.
- [ ] Double Check Square: Measure diagonally from corner to corner. Both measurements should be identical.
A few Tips I have learnt Along The Way
1. Why I Chose 4×2 (C16) Timber Over 3×2
You’ll see many “budget” sheds using 3×2 (or even thinner) framing. For the Ultimate Smart Shed, I went with 4×2 (approx 45mm x 95mm) C16 graded timber.
- Strength: It provides a deeper cavity for insulation, which is vital for protecting my electronics from temperature swings.
- Fixing Surface: It gives you a much wider “edge” to screw your OSB and cladding into, reducing the risk of missing the stud and having screws poke through the interior.
- Weight Bearing: If you plan on adding a heavy roof (like EPDM or box profile metal), 4×2 is the minimum I’d recommend for peace of mind.
2. A Note on Damp Proofing
While at this stage we are framing these walls on the floor, remember that they will eventually sit on the concrete. Even though my timber is pressure-treated, I will be installing a Damp Proof Course (DPC) strip between the concrete and the bottom plate. This prevents “capillary action”—where moisture from the concrete slab wicks up into your timber frame—ensuring your shed stays rot-free for decades.
3. Pro Tip: Check Your Sheet Alignment
Before you finalize your stud positions, grab a sheet of 11mm or 18mm OSB3. Lay it across your frame.
- If your centers are correct (400mm or 16 inches), the edge of that sheet should land exactly in the center of your third or fourth stud.
- Why it matters: If your sheet ends in “mid-air” between studs, you have nothing to nail into, and your wall will be structurally weak. Always “dry fit” a sheet before you drive the final screws into your frame!
4. “Terminology Cheat Sheet” (For Beginners)
A jargon definitions that I use in the videos and blog posts:
- Plates: The horizontal timbers at the top and bottom of the wall.
- Studs: The vertical uprights.
- Scribing: Marking a line across multiple pieces of wood to ensure they match.
- Racking: When a rectangular frame leans and becomes a parallelogram (stay square to avoid this!).
Frequently Asked Questions (FAQ): Shed Framing
Can I use nails instead of screws?
Yes, pros use 90mm galvanized nails. However, screws are better for DIYers because they allow you to correct a mistake without destroying the timber with a crowbar!
What height should my shed studs be?
I chose 1.95m. Once you add the top/bottom plates and the floor, this gives you a comfortable internal height of around 2 meters.
Do I need a “Noggins” (blocking) between studs?
For walls of this height, noggins aren’t strictly required for strength, but they are great for providing extra “fixing points” if you plan on hanging heavy cabinets later.
What’s Next?
In Part 6, we are building the Front Wall—which includes the door opening—and finally standing the structure up. You won’t want to miss seeing the shed finally take shape!
Catch Up With Other Episodes
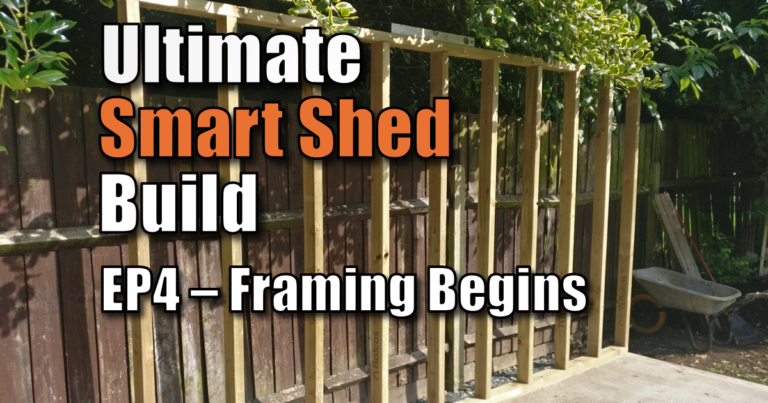
- Shed Framing 101: How to Build a Strong Rear Wall (Smart Shed Part 4)
- Building the Ultimate Smart Shed (Part 3): How to Build a Concrete Shed Foundation
- How to Remove a Tree Stump the Easy Way: No Digging Required!
- How to Install Concrete Anchor Bolts (The Best Way to Secure a Shed)
- Building the Ultimate Smart Shed (Part 1): Plans & Site Preparation
- Introducing The Ultimate Smart Shed Build: Why We’re Building a High-Security, Tech-Integrated DIY Shed
Subscribe Now!
If you found this episode of the ultimate shed build series interesting and are ready to stop guessing and start troubleshooting your own tech plus smart DIY, head over to the Built By Pete YouTube channel! We’ve got hundreds of other DIY projects and smart home tutorials. Click here to subscribe to the BuiltByPete youtube channel and hit the notification bell so you never miss out on the tips, tricks, and step-by-step guides that will simplify your tech life.