How to Initialise and Format a New HDD or SSD in Windows
Initialise a New Drive. Have you just installed a brand-new hard drive or SSD, but it’s nowhere to be found in Windows File Explorer? Don’t worry—your drive isn’t broken. When you install a new internal drive, Windows often requires you to manually “initialize” and “format” it before it can be used.
In this quick guide, I’ll show you how to make your new drive show up in seconds using the built-in Windows Disk Management tool.
Watch the Quick Video Tutorial

Why is my new hard drive not showing up?
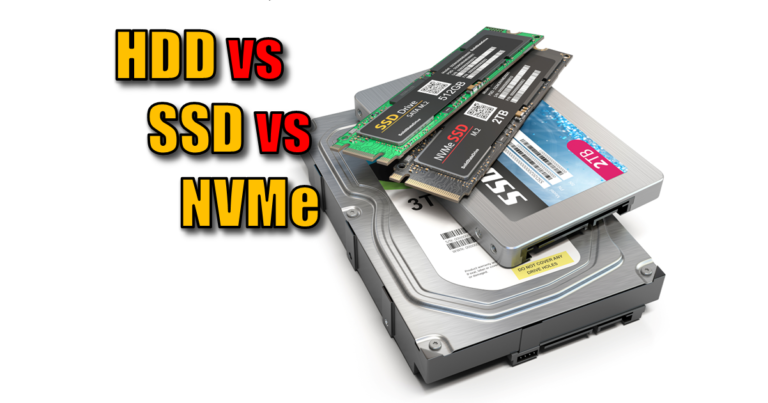
When you plug in a new 8TB drive (like the one I used in my Optiplex) or a high-speed SSD, Windows sees the hardware, but it doesn’t know how to talk to it yet. To Windows, it is simply “Unallocated Space”. To fix this, we need to initialize it and create a “Volume.”

Step-by-Step: How to Initialise a New Drive
1. Open Disk Management
Go to the Windows search bar and type “Create and format hard drive partitions”. Select the result to open the Disk Management utility.
2. Initialise the Disk
As soon as Disk Management opens, Windows will usually detect the new drive automatically and ask you to Initialise Disk.
- GPT vs MBR: For modern drives (especially those over 2TB), ensure you select GPT. Click OK.
3. Create a New Simple Volume
Your drive will now show up in the list as “Disk 1” (or similar) with a black bar labeled Unallocated.
- Right-click the unallocated space and select New Simple Volume.
- Follow the Wizard. Keep the disk space at the maximum default.
4. Assign a Drive Letter
Choose a letter for your new drive (e.g., D, E, or F). I chose E for mine.
5. Format the Drive
On the “Format Partition” screen:
- File System: Choose NTFS (standard for Windows).
- Volume Label: You can name the drive here (e.g., “Backup” or “Media”) or leave it blank.
- Click Finish.
The Result: Drive Now Visible!
Once the status changes from “Formatting” to “Healthy,” your drive is ready. Open Windows File Explorer, and you will see your new volume ready for files.
If you forgot to name it during the setup, you can simply right-click the drive in File Explorer and select Rename.
Initialise Drive FAQ
Why is my new hard drive not showing up in File Explorer?
A brand-new internal hard drive or SSD often won’t appear in File Explorer because it hasn’t been “initialized” or assigned a drive letter yet. Windows sees the hardware but treats it as “Unallocated Space.” To fix this, you need to open Disk Management and initialize the disk to make it visible to the operating system.
Should I choose MBR or GPT when initializing a new drive?
For most modern systems, GPT (GUID Partition Table) is the best choice. It is required for drives larger than 2TB and is the standard for Windows 10 and Windows 11. Use MBR (Master Boot Record) only if you are working with an older 32-bit operating system or legacy BIOS hardware.
How do I open Disk Management in Windows 11 or 10?
The quickest way to open Disk Management is to right-click the Start button and select Disk Management from the Power User menu. Alternatively, you can press Windows Key + R, type diskmgmt.msc, and hit Enter.
What is the difference between initializing and formatting?
Initializing is the first step that tells Windows how to handle the disk’s partition table (GPT or MBR). Formatting is the second step that creates a file system (like NTFS) on a partition so you can actually store and organize files. You must do both to use a new drive.
Which file system should I choose: NTFS or exFAT?
For internal drives used strictly with Windows, NTFS is the recommended file system because it supports advanced features like file permissions and encryption. Use exFAT if you plan to move the drive frequently between Windows and Mac computers, as it is compatible with both.
Does initializing a disk erase my data?
Initializing a disk clears the partition table, which effectively makes any existing data on the drive inaccessible. While this is the standard procedure for a new drive, you should never initialize a drive that already contains important files unless you intend to wipe it completely.
Related Tech Guides:
- PoE Explained: The Ultimate Guide to Power over Ethernet
- Ethernet Cable Standards: Cat5e vs Cat6 vs Cat8
- BuiltByPete YouTube Windows Tutotials Playlist
Subscribe Now!
If you found this guide for how to initialise a new drive interesting and are ready to stop guessing and start troubleshooting your own tech plus smart DIY, head over to the Built By Pete YouTube channel! We’ve got hundreds of other DIY projects and smart home tutorials. Click here to subscribe to the BuiltByPete youtube channel and hit the notification bell so you never miss out on the tips, tricks, and step-by-step guides that will simplify your tech life.