How to Check RAM on Windows (2 Easy Ways)
Let’s check RAM on Windows. We all want our PCs to run as fast and smoothly as possible. Whether you are video editing, gaming, or multitasking with dozens of browser tabs open, RAM (Random Access Memory) plays a massive role in your computer’s day-to-day performance. The more RAM you have, the better your PC handles heavy workloads without lagging.
If your computer is feeling a bit sluggish, or if you are looking to upgrade your setup, the very first step is checking your baseline.
In this guide, we will look at two incredibly easy ways to find out exactly how much memory is installed in your Windows PC—in under 60 seconds.
Method 1: The “About Your PC” Shortcut (Fastest Way)
This is the quickest method to get a snapshot of your system specs using the Windows built-in settings panel.
- Click on the Search Bar in the bottom-left corner of your screen (or press the Windows Key on your keyboard).
- Type the word About and hit Enter.
- A settings window will open. Look halfway down the page under the Device specifications section.
- Locate Installed RAM. Right there, you will see your total memory (for example, 8 GB, 16 GB, or 32 GB).
Method 2: Using System Information (The Detailed Way)
If the first method doesn’t work for you, or if you want a deeper look at your computer’s internal components, Windows has a dedicated tool called System Information.
- Head back down to the bottom-left Search Bar.
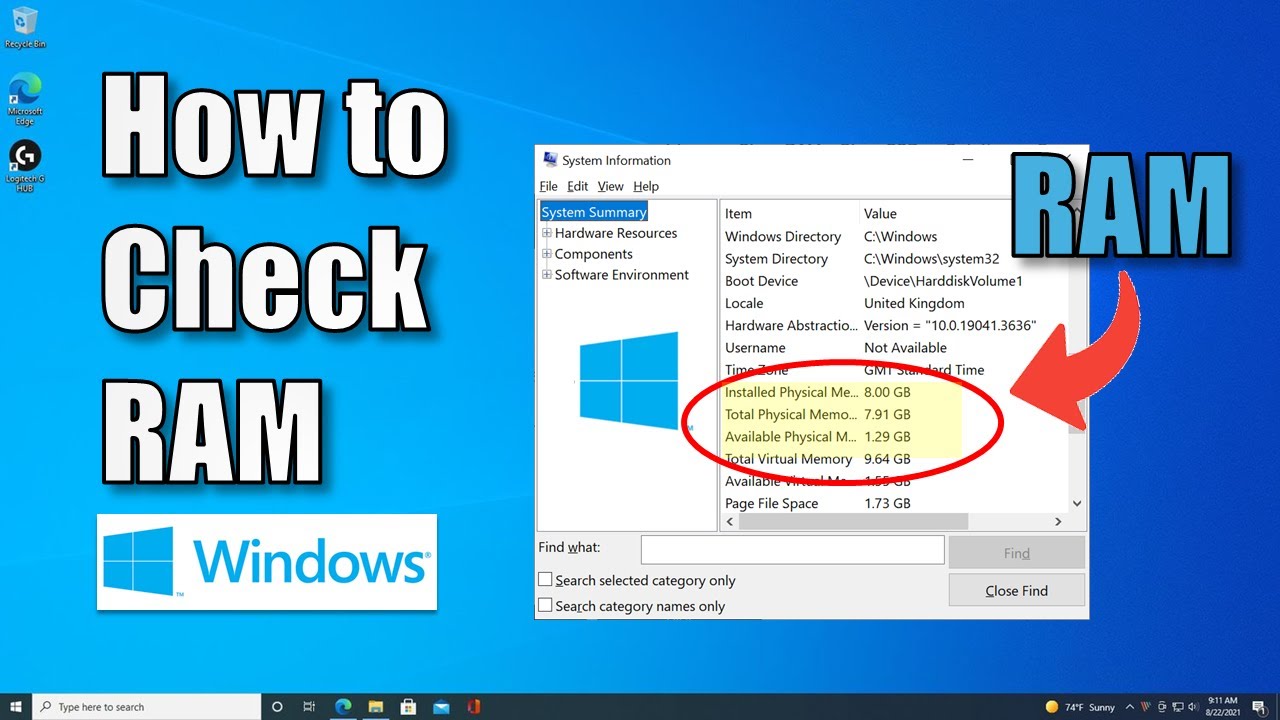
- Type in System Information and click on the application when it appears in the results.
- A window will open showing a comprehensive list of everything inside your PC.
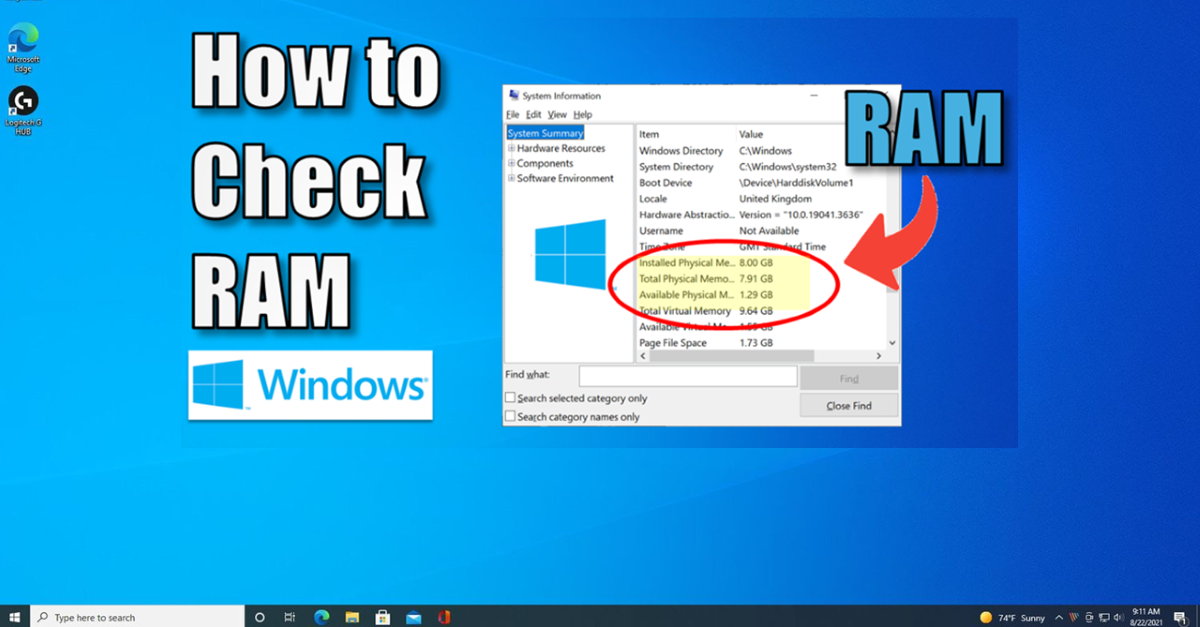
- Scroll down the list until you find Installed Physical Memory (RAM). Your total gigabytes will be listed right next to it.
Pete’s Tech Tip: If you notice your PC lagging during big projects and you see that you only have 8 GB of RAM, it might be time for a hardware upgrade. Upgrading your RAM is one of the most cost-effective, straightforward DIY ways to breathe new life into an older computer!
Watch the Video Tutorial
Prefer a visual walkthrough? Check out the quick step-by-step video guide to follow along in real-time:
Check RAM on Windows FAQ
What exactly does RAM do in a PC?
RAM stands for Random Access Memory. Think of it as your computer’s short-term working desk space. When you open a program, an internet browser tab, or a video editing suite, Windows temporarily stores that data in your RAM so it can access it instantly. The more memory you have, the more tasks your PC can handle simultaneously without slowing down.
Can I use these methods to check RAM on Windows 11 as well as Windows 10?
Yes, absolutely! Both methods outlined in this guide work identically whether you are running Windows 10 or Windows 11. While the visual design of the settings windows might look slightly different depending on your version, the exact steps to check RAM on Windows remain exactly the same.
How much RAM do I actually need?
It depends entirely on what you use your PC for:
8 GB: Fine for basic tasks like web browsing, checking emails, and light office work.
16 GB: The sweet spot for most modern users. Excellent for smooth multitasking, casual gaming, and standard photo/video editing.
32 GB or more: Highly recommended for heavy workloads, such as 4K video editing, 3D rendering, or playing demanding AAA games at maximum settings.
Can I see my RAM speed when I check RAM on Windows using these tools?
The basic “About” panel and System Information tools will primarily show you your total memory capacity (e.g., 8 GB or 16 GB). If you want to check your RAM speed (measured in MHz) and see how many slots are used, press Ctrl + Shift + Esc to open the Task Manager, click the Performance tab, and select Memory.
Is it easy to upgrade my RAM myself?
On most desktop PCs, upgrading your RAM is incredibly simple and takes less than five minutes—it’s usually just a matter of clicking the new memory sticks into the motherboard slots. For laptops, it depends on the manufacturer; some laptops allow quick upgrades via a bottom panel, while others have the RAM permanently soldered down.
Further Reading
- How to Find Website IP Address Using Command Prompt (Windows)
- Chrome High Memory Usage Fix: Simple 3 Step Guide
- 10 Pro Tips to Increase Your Internet Speed
- Stop Paying for Antivirus: How to Use the Hidden Windows Virus Remover (MRT)
- Windows 10 vs Linux Mint in 2026: The Best Choice for Your Old PC?
Subscribe Now!
If you found this How to Check RAM on Windows guide helpful and are ready to stop guessing and start troubleshooting your own tech plus smart DIY, head over to the Built By Pete YouTube channel! We’ve got hundreds of other DIY projects and smart home tutorials. Click here to subscribe to the BuiltByPete youtube channel and hit the notification bell so you never miss out on the tips, tricks, and step-by-step guides that will simplify your tech life.